|
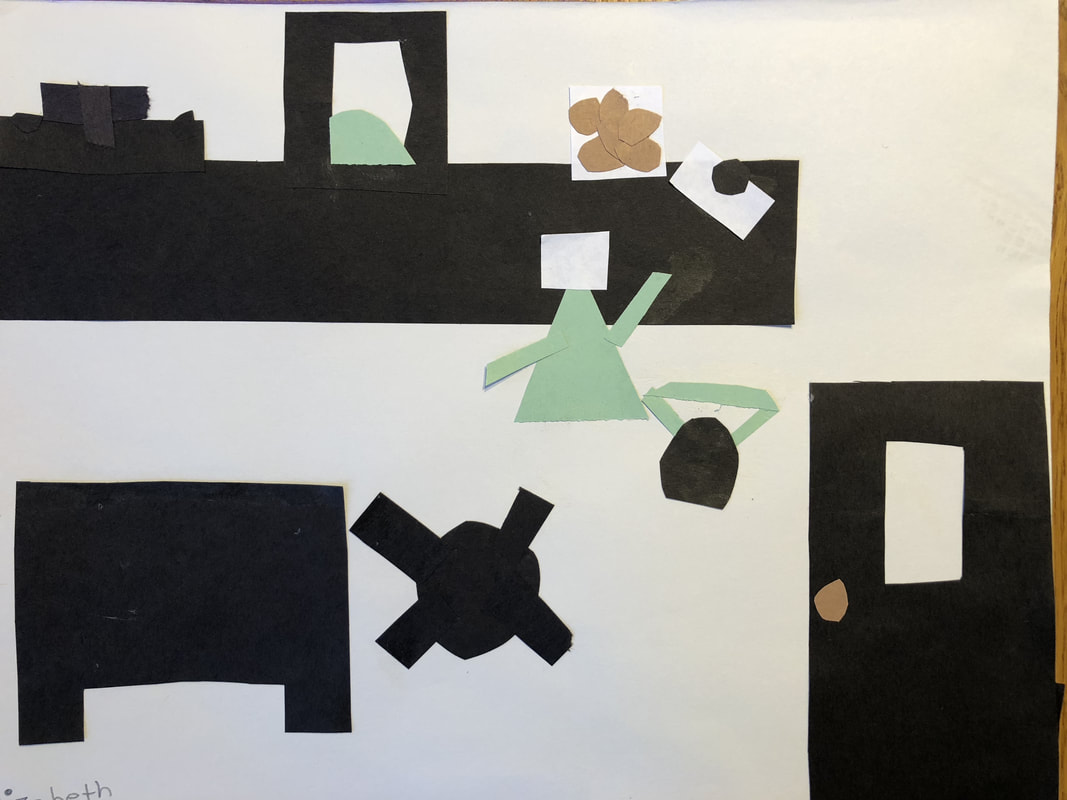
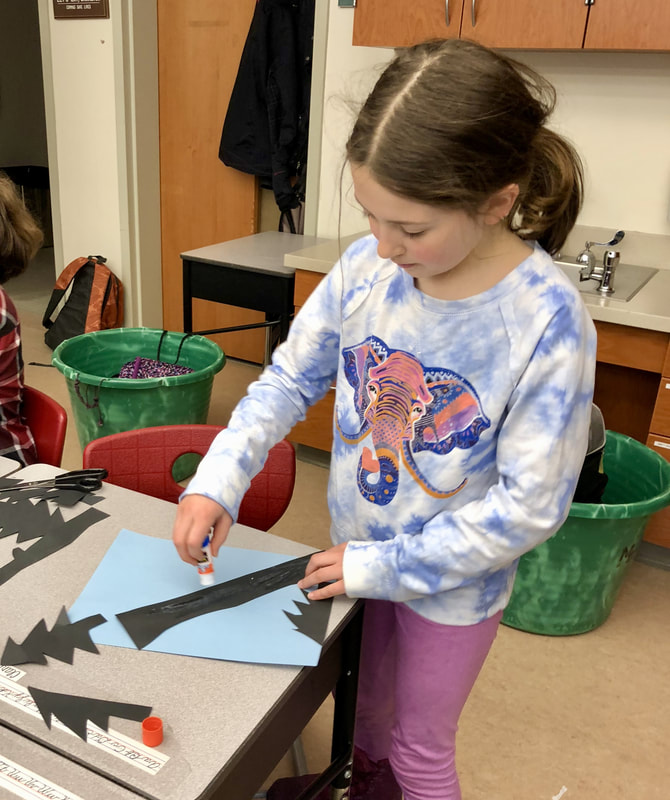
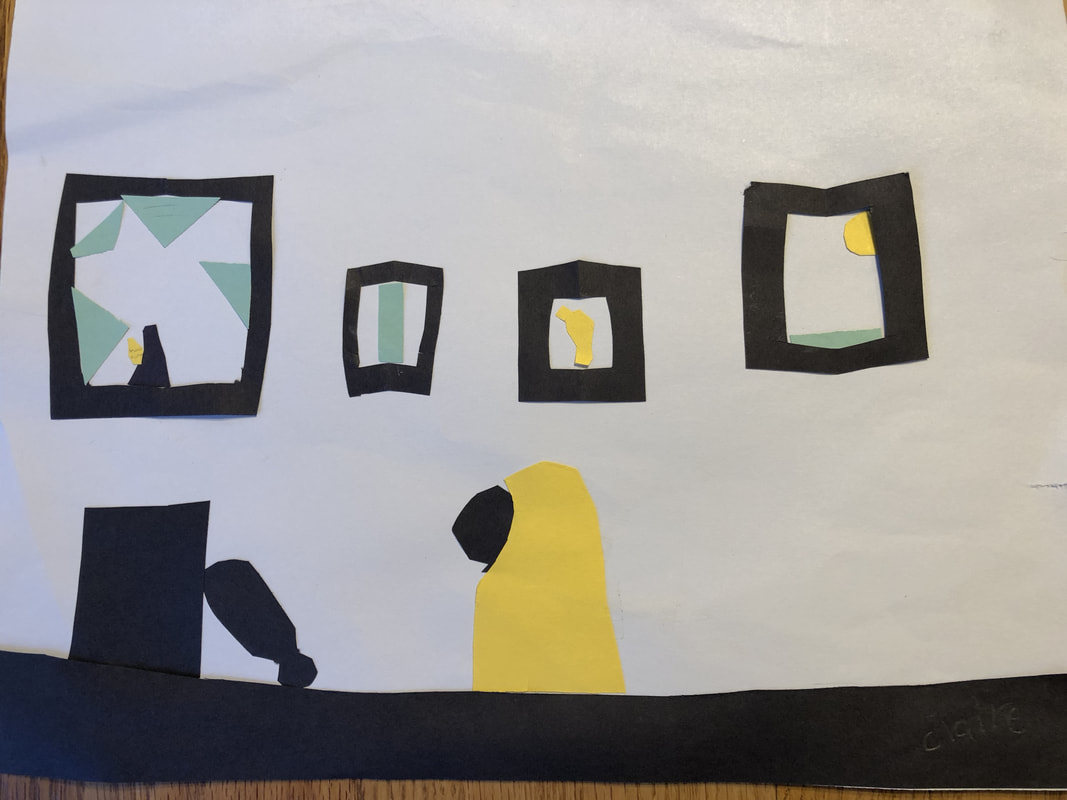
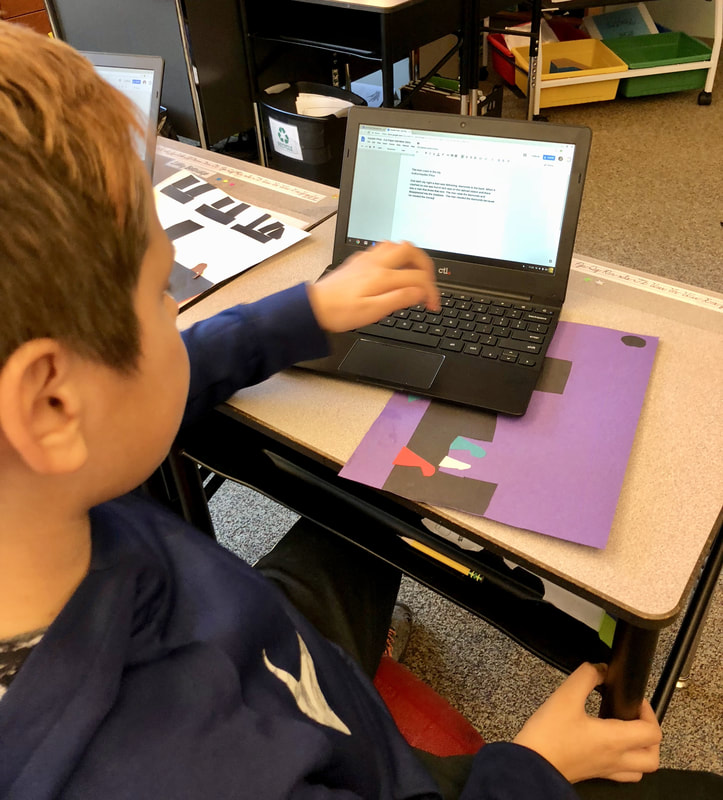
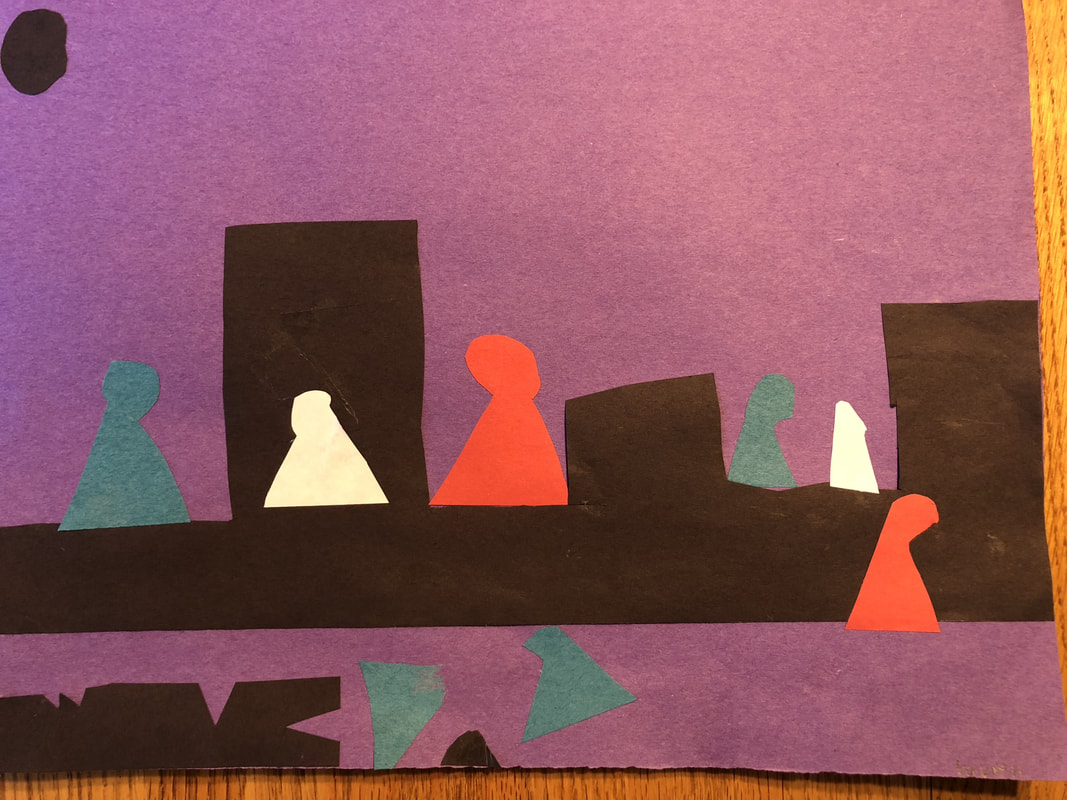
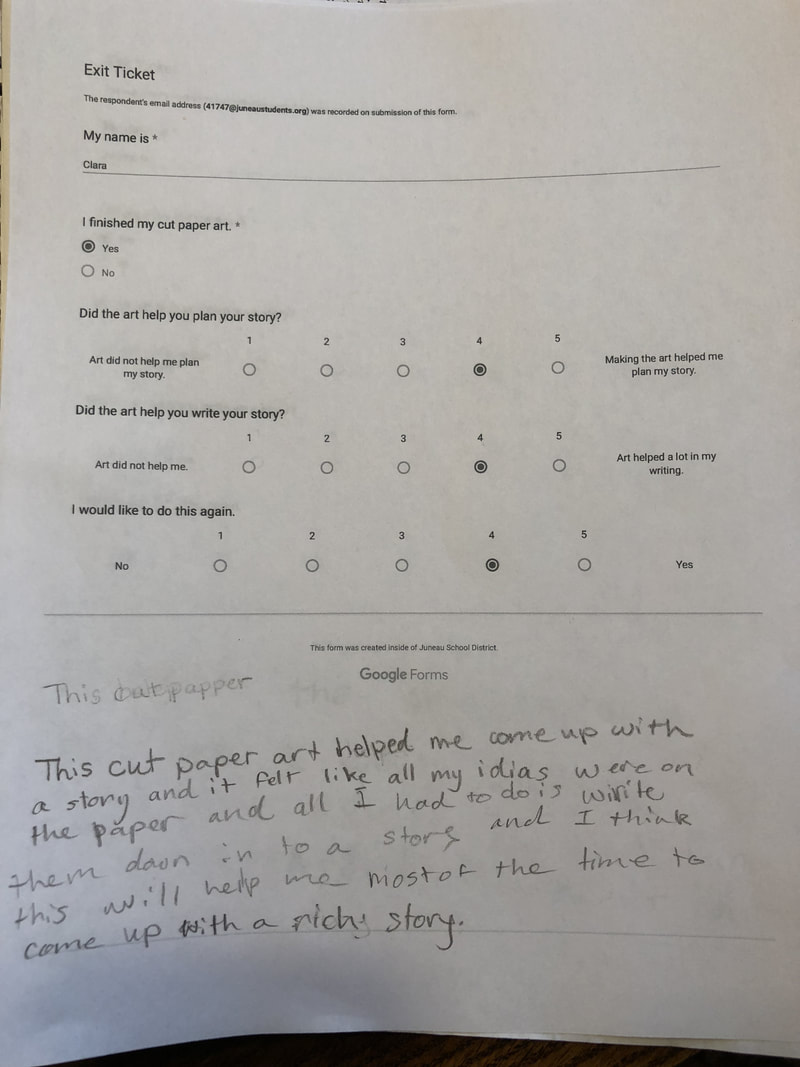
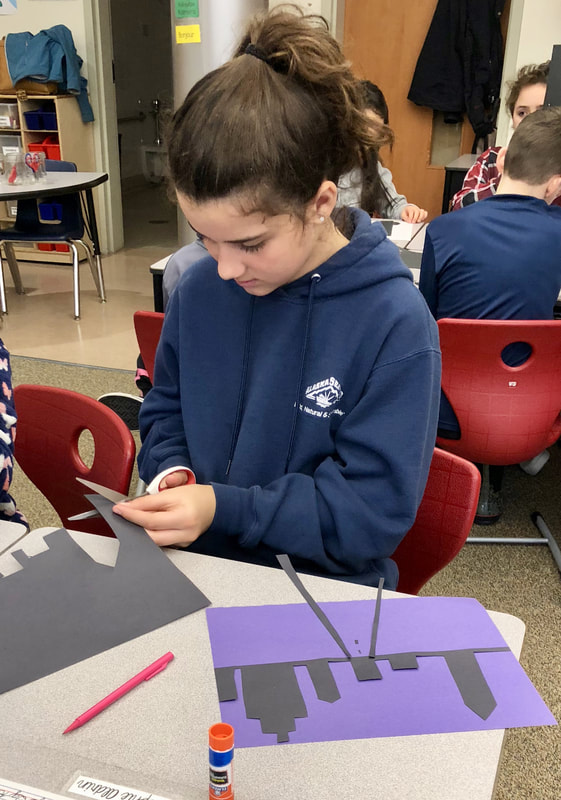
by Nadine Marx 4th Grade, Auke Bay Elementary Too often I see a blank stare on my students’ faces when they are tasked with writing. The pressure of an assignment empties their brains of ideas and they don’t know how to start. After participating in Jamin Carter’s workshop, Cut Paper: A Pathway to Creative Writing, I was excited to try his way of warming up students by integrating art into the writing process. Students would learn about art elements (shape, size, color, space) and create a piece of art using construction paper, scissors, and glue, and in doing so, would plan the setting, characters, and problem in a story before being asked to write a well-developed narrative. Before teaching Jamin’s lesson, I led students through mini-lessons on story structure, problem and solution, figurative language, and how to write and punctuate dialogue. Then, over two days, I taught Jamin’s lessons as scripted in the materials provided at the workshop. Students enjoyed learning the gestures that went along with the art elements. They loved playing Pass the Setting, and were excited that they would create their own picture of a problem that they would write about. On Day 3, I was surprised (and delighted) that most students had no problem thinking of a problem to illustrate, and were able to get right to creating a picture. One student needed some time to think of a problem, but then easily finished his picture within the time given. Students were asked to create a paper scene of the problem, or the middle of their story, showing setting, time of day, characters, and lastly, give a hint as to how the problem might be solved. On Day 4, students got started with their narrative writing. I was clear about my expectations, showing them a scoring guide I would use to evaluate their writing (thinkSRSD.com). Because of increasing expectations for 4th graders to type responses on assessments, I provided a google doc for students’ writing. Three of 23 students opted to write their story in their journals, while the others typed. When students had their first draft of their story done, I asked them to complete an “Exit Ticket” on Google Forms about the project. I asked if they finished their art, if the art helped them plan their story, if the art helped them write their story, and if they would like to do this again. Questions 2-4 were answerable on a scale of 1 to 5, 1 being on the No end, and 5 meaning Yes. Offering these choices may have been a mistake, since students gave a lot of 3s, making data less telling. After reviewing answers, I printed the individual forms, allowing space at the bottom for a written explanation of their answer. This was more helpful. But because I was asking students for multiple edits and rewrites, most written comments were harping on the amount of work this project was. Apparently they did not like to edit. A few written comments expressed the students’ enjoyment of the project. My own observational data led me to believe that creating the picture of the problem before writing the story was highly effective. Students had created the setting, characters, and problem and had thought about the solution before starting to write. I thought that students seemed to be writing their stories more quickly, and just as I had felt that the story flowed out of my pen after having done most of the thinking and planning beforehand during the workshop, I thought that students’ writing seemed to be an easier process for them. I did not see students staring blankly at the screen or page, and if they were, it was because they were trying to think about how to satisfy the expectations of the scoring guide. Would I do this again? Absolutely! It did take a good bit of class time to teach the art concepts and go through practice to get them ready for their part. My class worked on this during the last week of March, and had we done this earlier in the school year, we could have had more opportunities to create additional cut paper stories and write them. At this late date, we had to finish assessments and complete the last of our 4th grade tasks. Next year, I would teach this in August or September, and use the strategy several times throughout the year, making the time invested in the background knowledge more useful. Trapped! By creating art, and thinking about art elements of shape, size, space, and color, students planned the setting, characters, problem and solution for their narrative stories while engaged in creating with paper, scissors, and glue. They planned setting while choosing a background color to represent day or night, or interior lighting. They cut out trees or furniture or buildings and further developed their setting. They thought about character development while shaping their characters, choosing colors and shapes that would represent who their characters where and how they would interact. They added shapes to represent the problem of a broken vase, a cookie jar that was out of reach, a train that crashed or stolen jewels. Then they developed a visual clue of how their problem could be solved. While working on their art, students talked with their table groups about the process, and got more ideas, and explained to each other what each part meant. When it was time to write, their stories were written in their minds, and they only needed to get them out in words. Often teachers ask students to write and then give them time to create visual art as a reward for getting their work done. This now seems backward to me. Having intentionally created art with a meaningful setting, characters, and plot, students were more than ready to write.
0 Comments
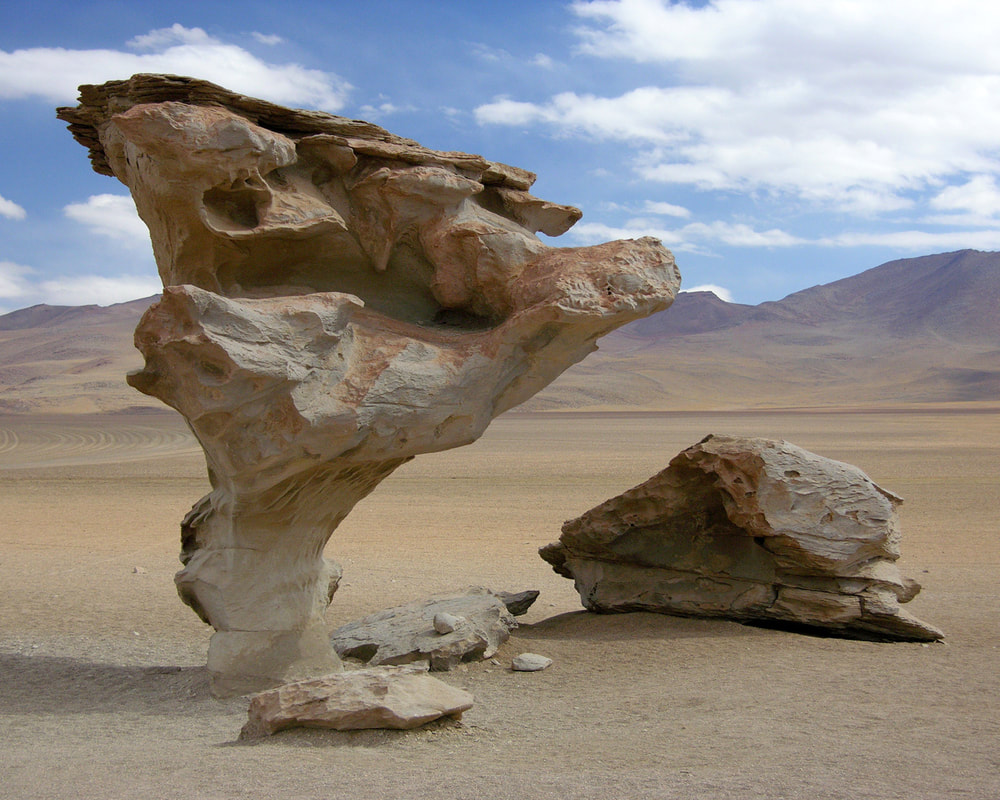
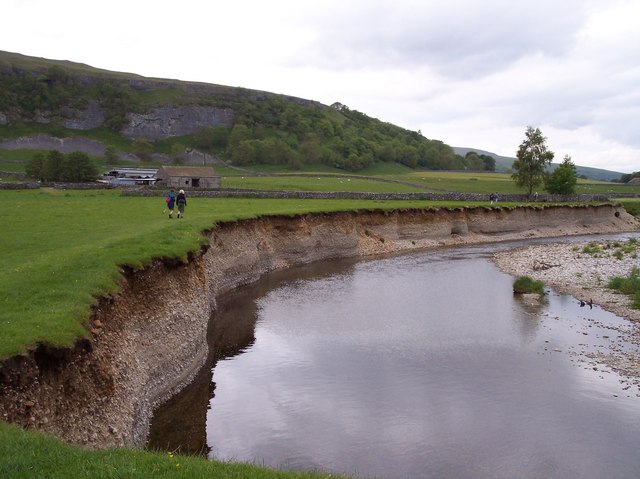
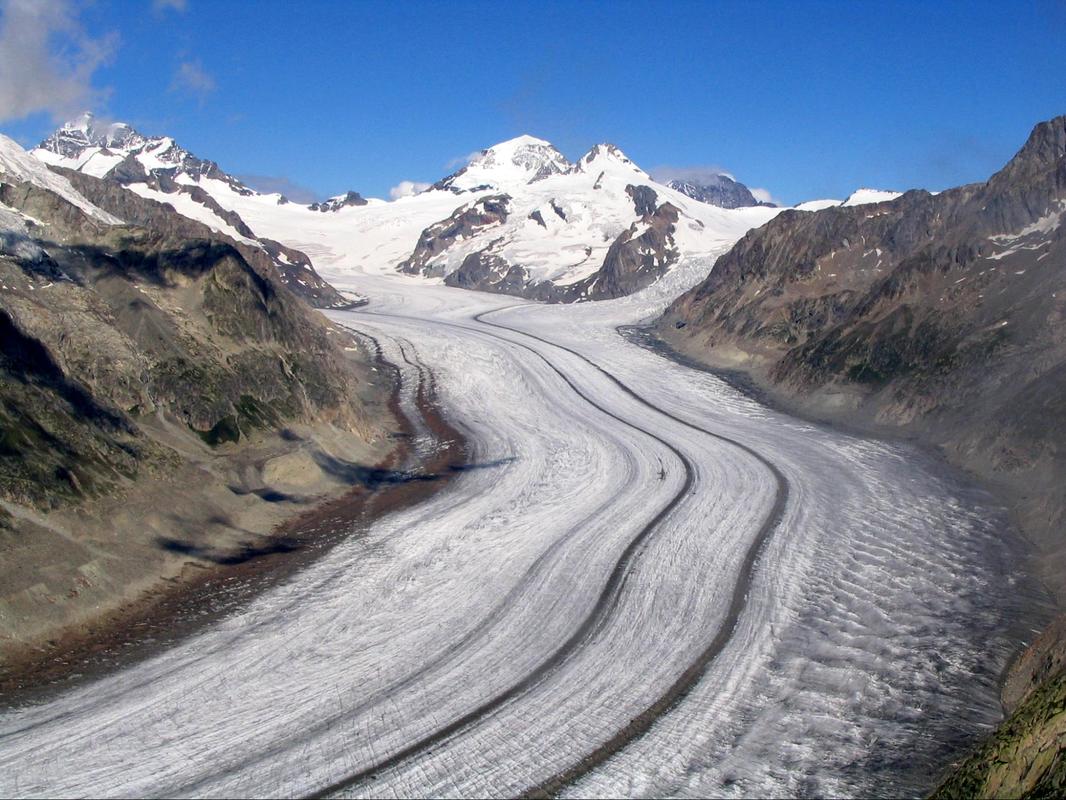
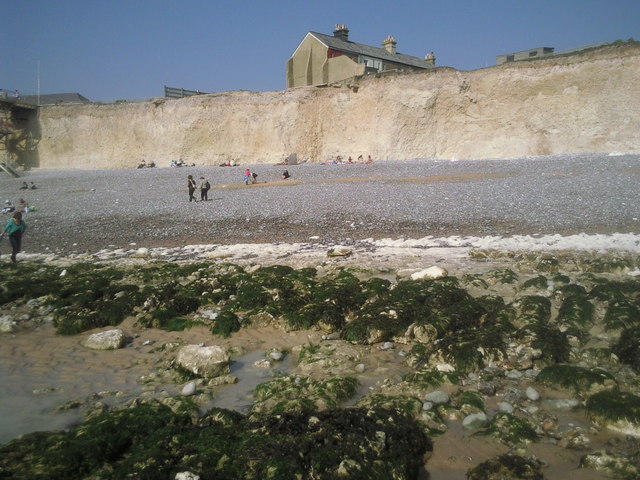
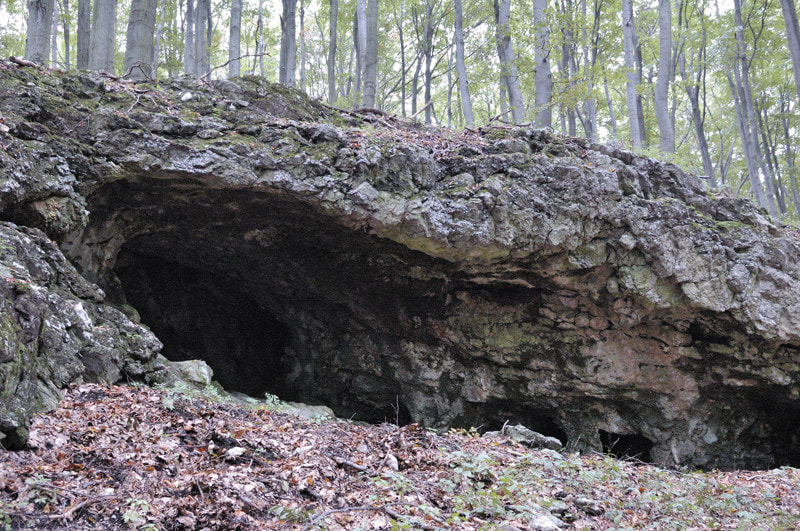
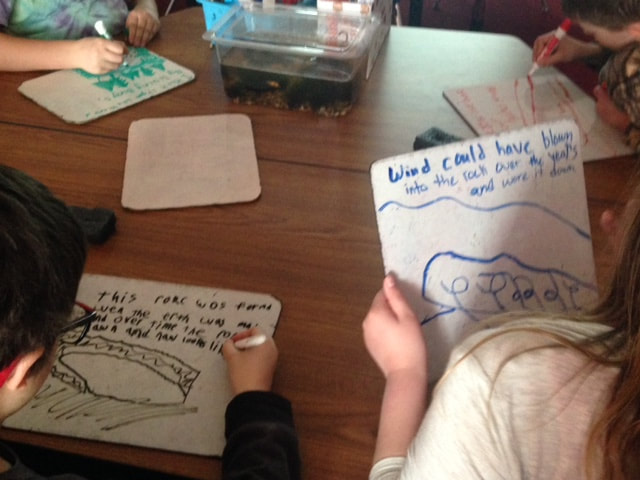
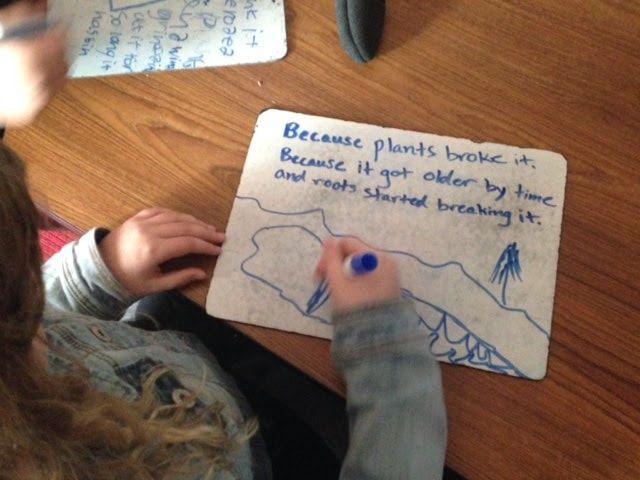
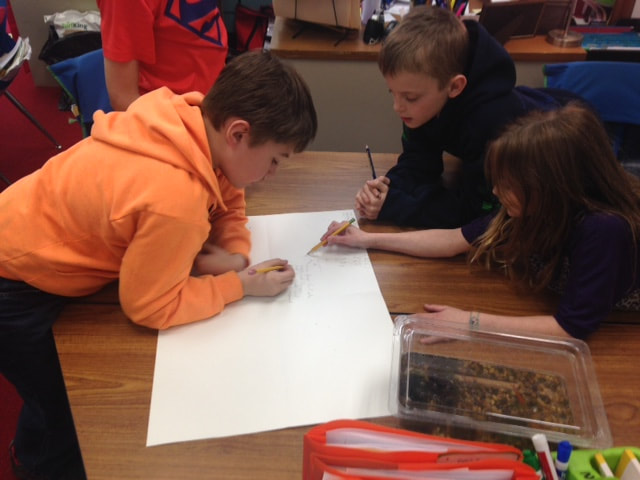
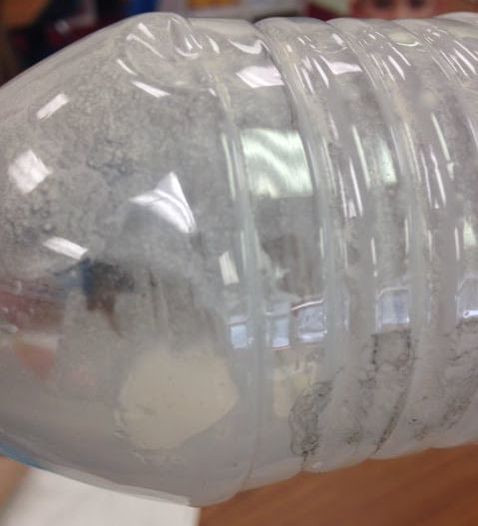
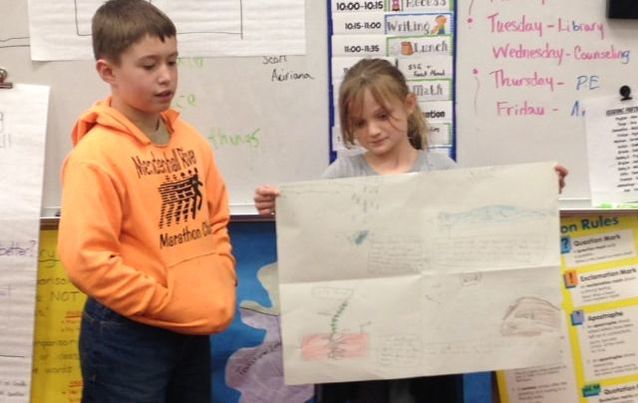
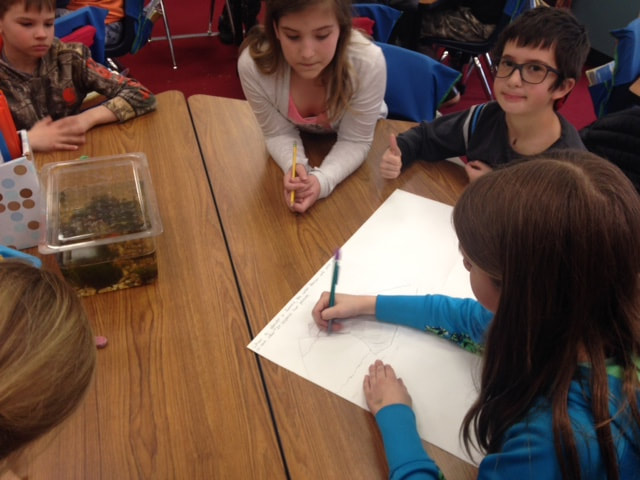
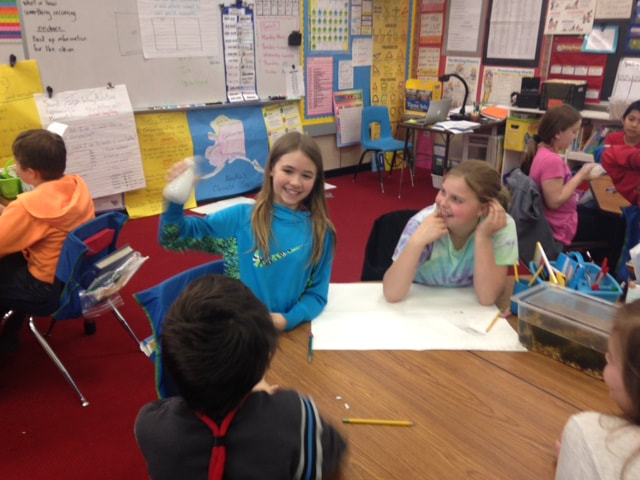
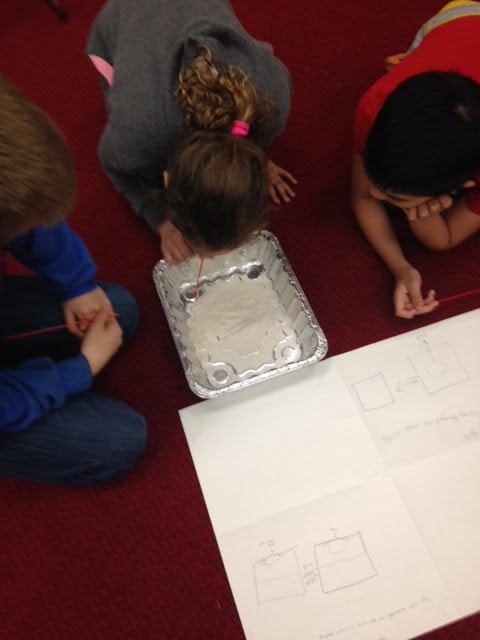
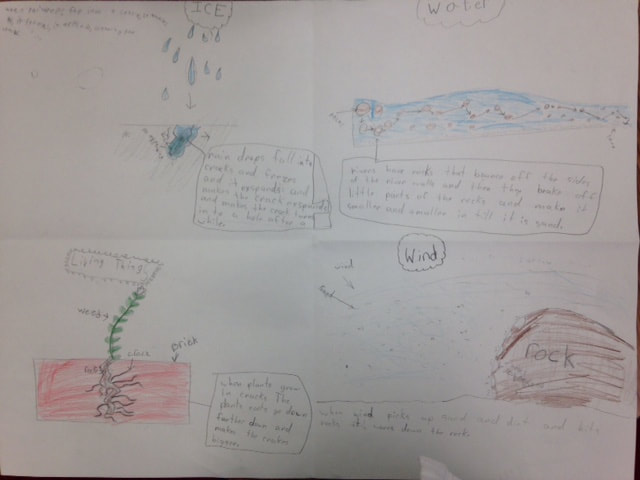
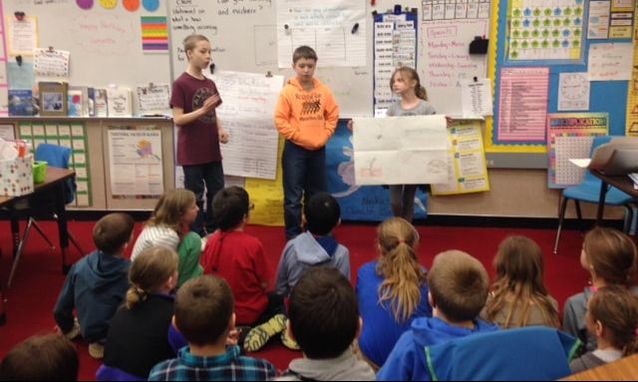
By Jennifer Heidersdorf 4th Grade, Mendenhall River Community School Student Thinking about this image: What do you see? I see sand and mountains. I see an arch. I see a rocks and a canyon with a hole. I see sandstone, orange. I see a rock with a hole in it. What do you think? I think it’s a desert. I think it has reptiles. I think the sun is going down. I think there’s a cave. I think the picture was taken in Arizona. I think there’s very little water. I think it’s really old. I think the rock eroded What do you wonder? I wonder if it’s a hot place. I wonder if it’s a canyon. I wonder if the shrubs are grass and if the arch will fall. I wonder where this picture was taken. I wonder if sand made the hole. I wonder if things got fossilized in the rocks. I wonder if there’s a road or cactus there. I wonder what’s beyond the rock. I wonder how it was created. While attending the NSTA Conference this spring and learning with other teachers on how to implement the NGSS (Next Generation Science Standards), I got excited and thought, "wow, this sounds a lot like the Artful Thinking routine of See/Think/Wonder". We ultimately want all students to observe things, think about why things work, and ask questions that will hopefully lead them to future investigations to find the answers. Presenting students with a phenomenon in the form of pictures or other media creates an opportunity for students to look with their eyes wide open and share their ideas in a safe, nonjudgmental environment. This approach has become a common practice in the way that I start many of my lessons in my fourth grade class. For this opening science lesson, I wanted students to view a variety of images while doing a See/Think/Wonder routine. As we went through these slides, I had students respond aloud and also in written form. I didn’t frontload the lesson or give students any more information then that; my hope was that it would lead to them asking questions and that they would find a common occurrence among the pictures. Students were eager to share and had a wide range of responses and questions. When we finished looking at the images the first time, I asked them to take a quick look at the slides again and see if they noticed a common occurrence happening within the images. I love the engagement of students when they talk about what they’re seeing, thinking, and wondering. By separating out the questions, the routine stimulates curiosity and helps students reach for new connections. I could see from the student responses that they had a deeper interest. Student Thinking about this image: What do you see? I see sand and mountains in the background. I see a big hole in the the standing rock. I see a rock that looks like a hand without fingers. I see a statue of the illuminati. What do you think? I think it’s in the middle of nowhere. I think wind carved the rock. I think something hides or gets in the shade in the big rock. I think there’s water. I think it’s 10,000 years old. I think the rock is not stable and it might fall. What do you wonder? I wonder if people live there. I wonder if the rock is going to fall. I wonder if it was flooded and then got dried out. I wonder what’s behind the rock. I wonder if I can fit in the rock. I wonder if somebody sculpted the rock. I wonder where this is. I wonder how it came to be. Student Thinking about this image: What do you see? I see a cliff holding a building. I see the tide has gone down. I see what would be the ocean. I see wet rocks, seaweed, and blue sky. What do you think? I think it was hard to get down to the beach. I think they’re going to rebuild the house. I think it’s in a foreign country. I wonder if the person taking the picture is underwater. I think there was war before the house was built. I think people would go there on the 4th of July. What do you wonder? “I wonder where the photo was taken. I wonder if I’ve seen it before. I wonder if there was a tsunami. I wonder if the house was a church. I wonder if the water wore the cliff down. I wonder what the people are doing. I wonder how long the building has been there.” Engagement and Enthusiasm What I love is hearing students make connections and but having them make those connections on their own. I didn’t want to give students any vocabulary, I just restated what they said and eventually a student said the word erosion. At that point I asked him what he meant by that and then we were able to substitute that word with a definition that tied into what they were observing but they made the connection on their own. From this point we talked about the different forms of erosion and how it can cause change. Science activities that followed: These lessons served as an entry point into NGSS standards 4-ESS1-1 (Identify evidence from patterns in rock formations and fossils in rock layers for changes in a landscape over time to support an explanation for changes in a landscape over time) and ESS1.C (Local, regional, and global patterns of rock formations reveal changes over time due to earth forces, such as earthquakes). To engage students in the topic of weathering the next day, I presented the class with a picture of an interesting rock formation and gave them the following prompt: With your whiteboard, please use sentences, labels, and drawings to propose an explanation for how you think this rock might have been hollowed out. Please explain how you think this occurred using sentences and drawings. Our Four Investigations Wind: Student groups are provided a container of sand and a drinking straw. Students then blow gently across the sand with the straw. The students are able to see the changes in the sand surface and observe the moving sediment. Students must wear goggles when working with sand. Moving Water: Each group is given a water bottle half-full with water. They then place a piece of chalk in the water and take turns shaking the bottle (moving the water). The students stop after three minutes and make observations. Ice: Students look at a picture (or a real example) of a bottle that was filled with water and then frozen. They can observe the expanded ice sticking out from the top of the bottle and the overexpanded bottle. Living Things: Students are given a baggy with a cracker in it. The cracker represents a rock. Students use their fingers to “weather” the cracker Students then worked in groups of five to propose explanations on a large sheet of paper that had been folded into four sections. I walked from group to group and asked clarifying questions about the science content on the boards (“Can you be more explicit in your drawing about how you think this occurs?”) and about the students’ writing (“Can you label your drawings and add more details using scientific words to explain your drawings?”). I then explained that I wanted each group to come to the front of the classroom, one group at a time, to present their ideas. But, before the first group came up, I directed the students’ attention to a poster on the classroom wall that outlines the group sharing norms that the class developed earlier in the school year. The list contains items such as: • Examine each paper carefully for words and drawings. • Can you identify claims and evidence? • What questions can you ask? • How does your paper compare to other papers? As I reflect on these lessons, I see how important it is for my students to be able to explain their thinking with drawings and explanations. As students observed the connections that other students made, many had some realizations that their paper didn’t look anything like other students papers. I wanted students to have a range of connections but well thought out connections. This is something that students have to practice at, it definitely does not come easy. I plan to start this strategy much earlier in the year next year to see just how much students improve and grow through the year.
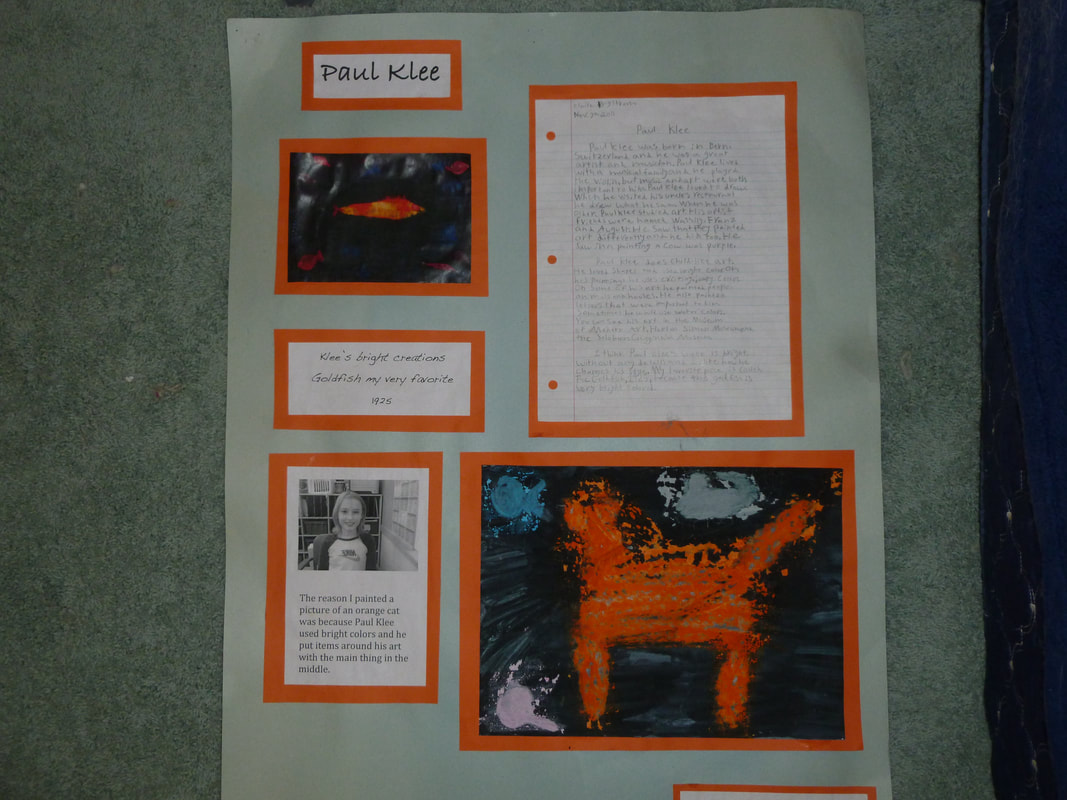
Observations by Becky Engstrom 3-5th Grade TED Specialist, Gastineau and Harborview Schools BACKGROUND As a specialist serving intermediate students grades 3 through 5, I have always rotated language arts units on a 3-year basis to be sure students are offered an eclectic mix of content supported by lessons to improve reading and writing skills. One of my favorite units has always been an art biography unit. Students would do research on an artist collecting pertinent facts by taking notes. They would use the notes to write a three paragraph report on their chosen artist. They would write haiku poetry about their artist and the art work. They would create a piece of work combining their artist’s style and beliefs with their own, then they would support the piece they created with a description explaining their reasoning behind their work of art. All these parts are then mounted on a poster board which has always made for a beautiful display. CHANGE After signing up and committing myself to the study of Artful Teaching, the first thing I wanted to do was change this unit to create more opportunities for authentic artful thinking using a variety of thinking routines from different thinking dispositions. I experimented with a selected artist to experience different routines that would help students when they finally selected the artist they wanted to study. I chose Frederic Remington to learn and model different thinking routines. We did a verbal See/Think/Wonder in table groups with different Remington pieces, then used the same pieces to do a verbal Beginning/Middle/End. We experienced Step Inside with a work from Remington. We studied desert vocabulary (mesa, plateau, canyon, butte, saguaro, ocotillo, etc.) and used that vocabulary to create tableaus. ON THEIR OWN After students selected their artist, gathered notes, and wrote their report, I selected a piece from their artist, printed it out, and students wrote their See/Think/Wonders on the printout. Students also selected a piece from their artist that they wanted to attempt to turn into a Tableau (step inside). The student who selected their piece would become the tableau director and had to put people in position until they were satisfied with the outcome. It gave me a good understanding of which students had excellent communication skills and which students needed improvement. It also helped me see the students who noticed many details and the ones who did not. I would have to bring focus to areas in the piece with questions… “What direction are they looking?” “What is their hand doing?” The amount of information I received from this one activity was a true eye-opener! Students also extended their thinking by creating a piece of art that connected their own thinking to the artist they were studying. CRITIQUING AN ARTIST Students wrote a research paper on the artist they picked. The last paragraph was their opinion of the artist they selected. I especially enjoyed reading these paragraphs. NEW PROJECTS DISPLAYED IN RETROSPECT
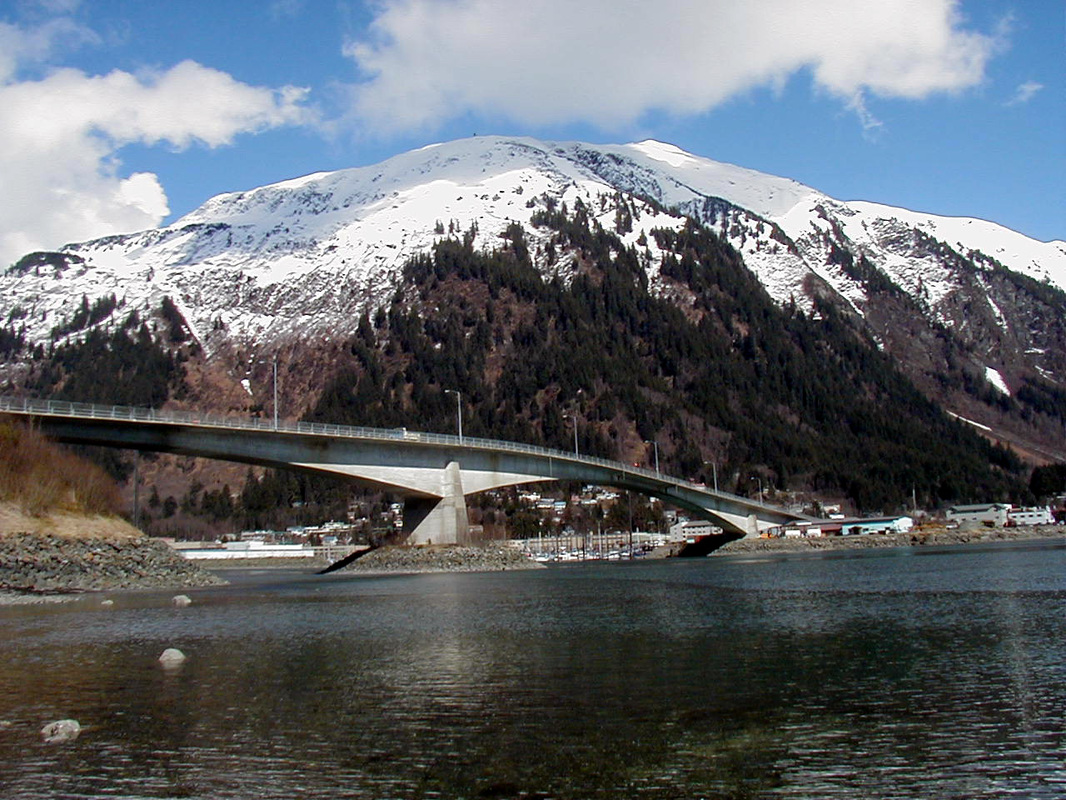
Although I believe the old poster board displays were more visually pleasing and beautiful, the new displays showed more artful thinking; the most beautiful moment to catch is proof of a brain in action. Whereas the old displays had more writing skills involved, the new supported the process by which learning took place. It was inspiring to watch the students make incredible observations. To listen to the details noticed to create the tableaus was a treat. To read their observations of the students’ chosen artist was deeply satisfying. Teaching became more passive, as if I handed the wheel to the students because they were ready to drive. It’s scary, and wonderful at the same time. By Katy Ritter Gastineau Elementary, 4th Grade I was scheduled to use the 4th grade elementary art kit, Centennial Bridge, but I’d never used it before. I didn’t check it out with a purpose to integrate it into our current social studies or science units of study, but I was excited to try an Artful Thinking Routine that would add some depth to our discussion, and hopefully deepen students’ engagement in the lesson. I decided that I would begin by showing the photographs of the Gastineau Channel/Douglas Bridge included in the kit, and use the Think/Puzzle/Explore routine. I hoped that showing the photographs without telling any information would invite students to try to build a narrative about the history of transportation in Juneau. I displayed the photographs on my whiteboard tray at the front of the room, and asked students to look at them carefully and quietly without talking. I began with the question, “What do you THINK you know about this topic?” Some of their responses:
Students seemed to understand that all of the photographs were connected, and they were telling a sequential story of the transportation used in the Gastineau channel. Then I asked, “What questions or puzzles do you have?
And the final question: "What does this artwork or topic make you want to explore?"
Students were very engaged and excited to find out that the reason the old bridge was replaced was because it was too small for the growing population and the new bridge is larger (this could be linked to why the roundabout was built about ten years ago!) They commented on the structure of each bridge and the difference in design, wondering why the old bridge had more artistic detail.
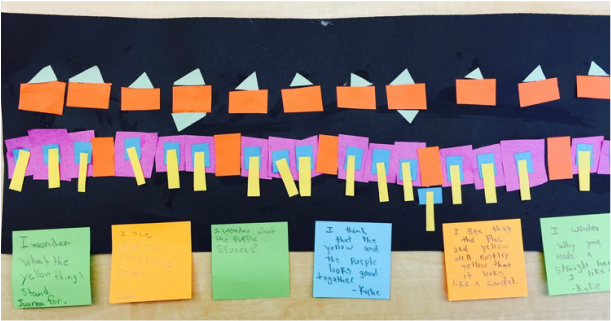
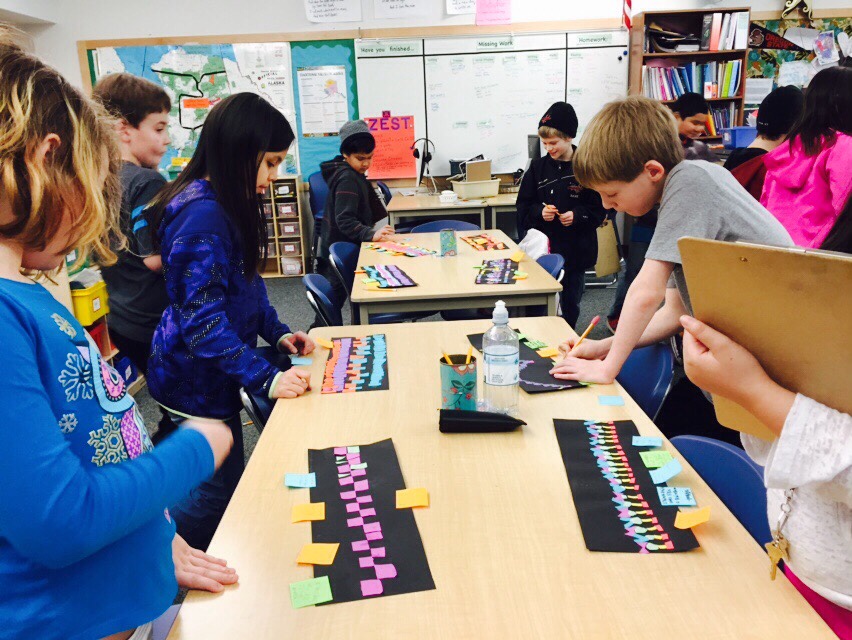
I introduced the photographs of the Centennial bridge and we compared it to the Douglas Bridge. We determined that it looks like a pedestrian bridge, which is why the art decorating the two sides of the bridge is in the footpath. We looked carefully at the symbolic images placed on either side of the bridge and thought about the difference between art that is functional (like a bridge, which has a form and a function) and the Centennial bridge, that includes style which carries symbolic MEANING. Students then created abstract bridges with 100 pieces of colored paper, creating patterns and lines. The results are as different as my students--each created their own pattern or arrangement of color and shape on the page. |
ArtStoriesA collection of JSD teachers' arts integration classroom experiences Categories
All
|
|
|
Artful Teaching is a collaborative project of the Juneau School District, University of Alaska Southeast, and the Juneau Arts and Humanities Council.
|


 RSS Feed