|
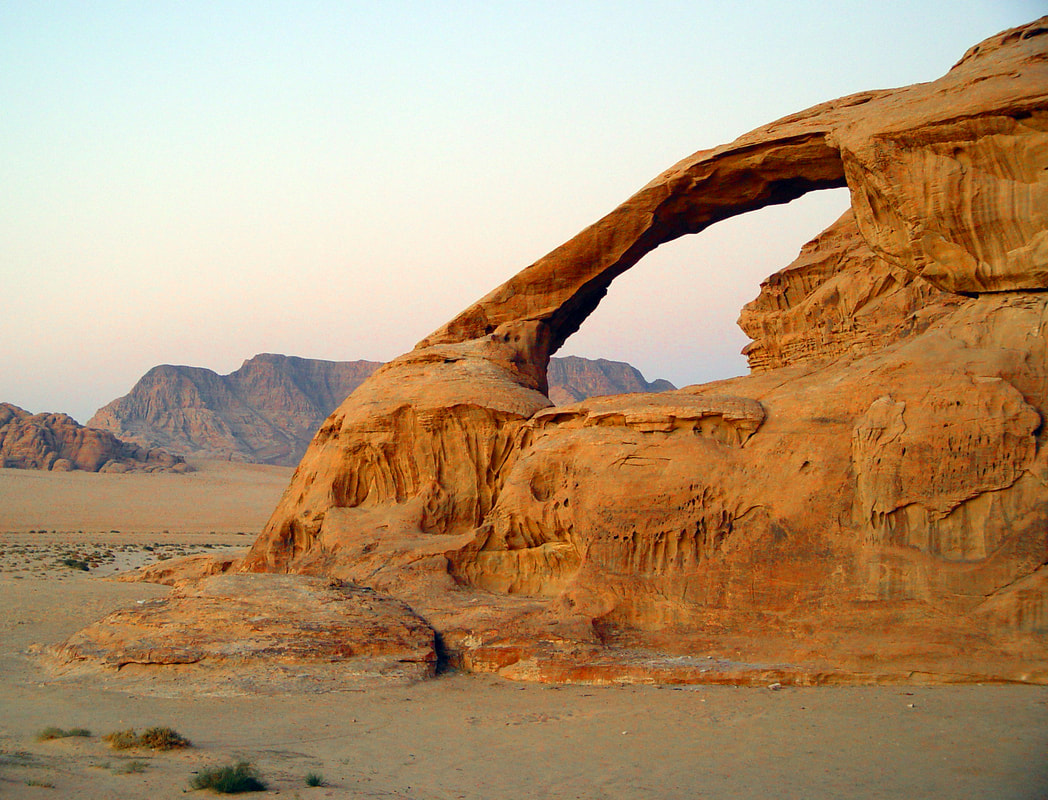
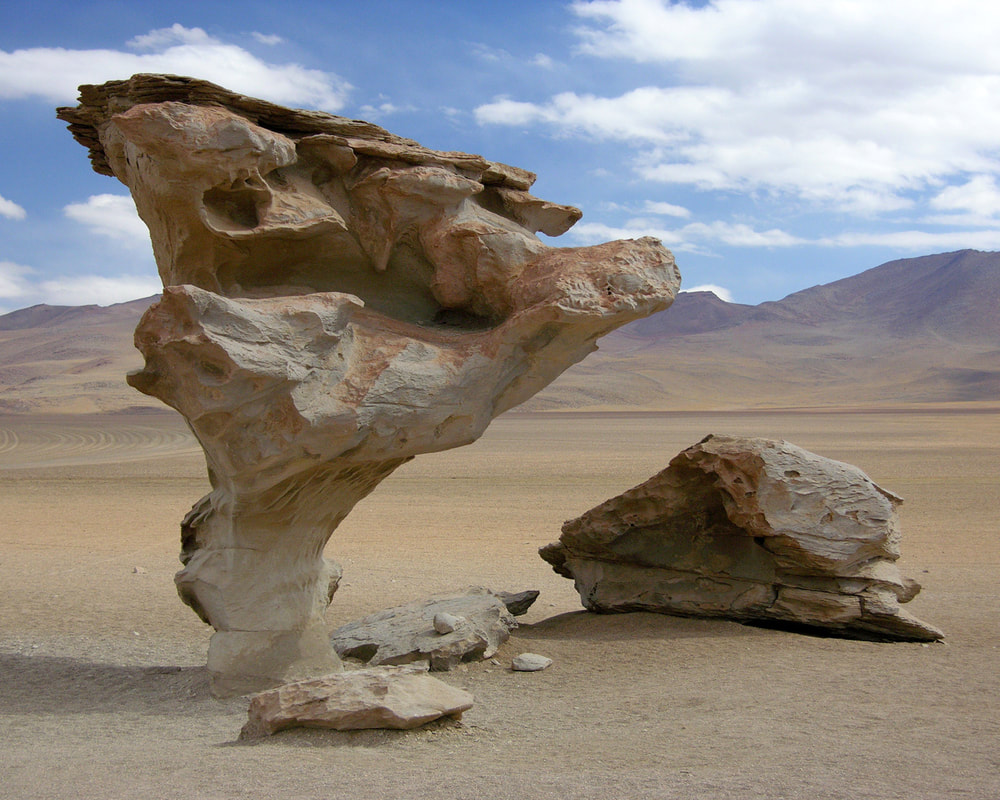
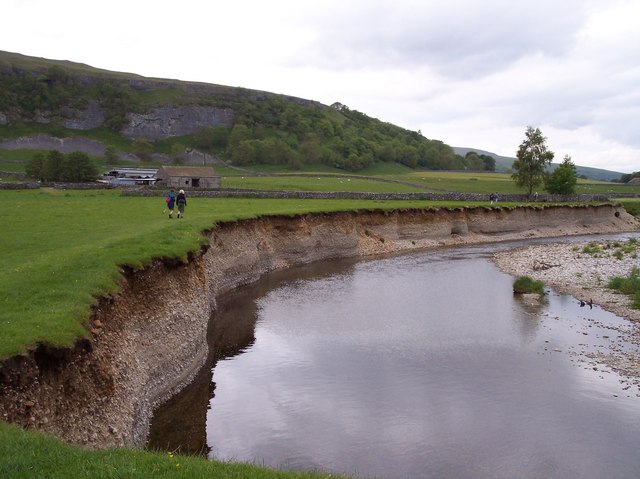
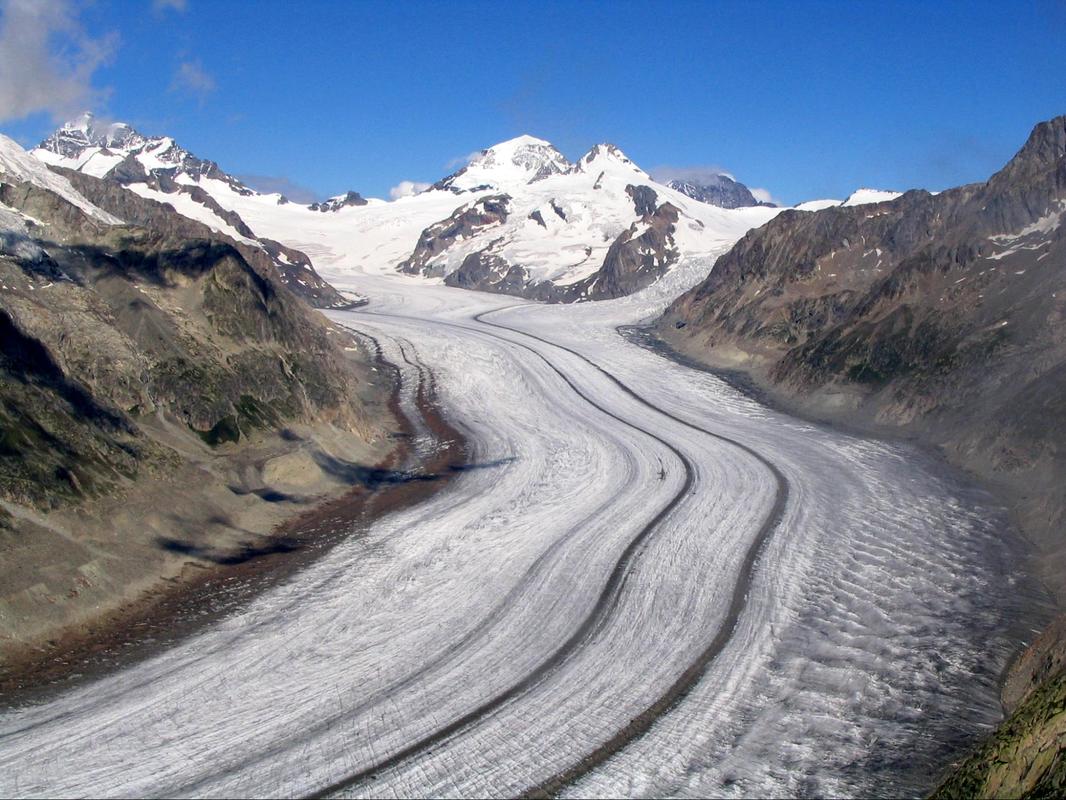
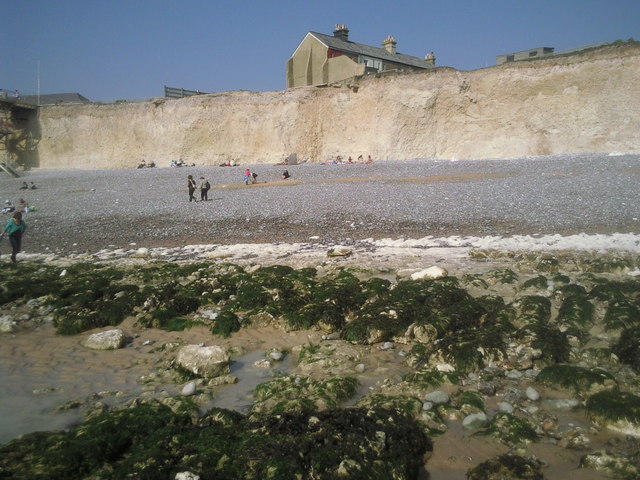
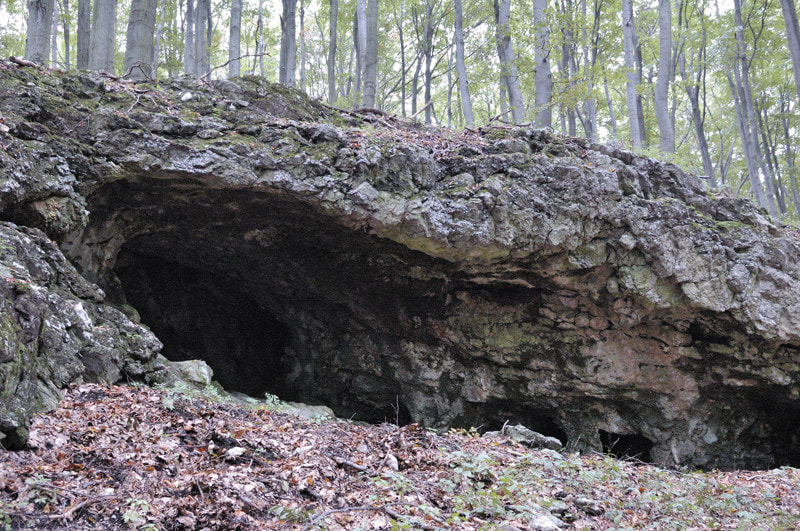
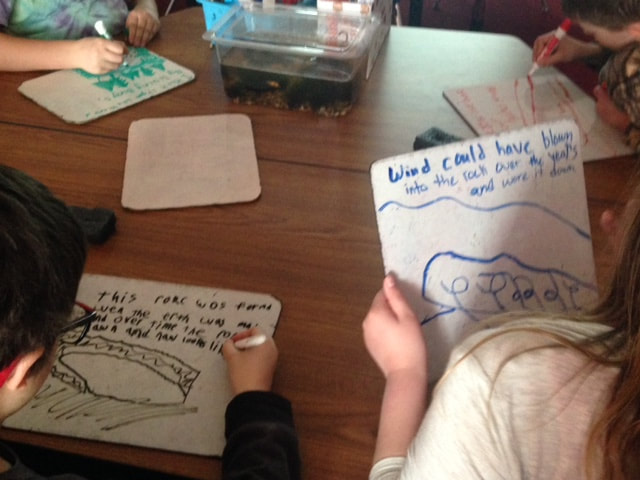
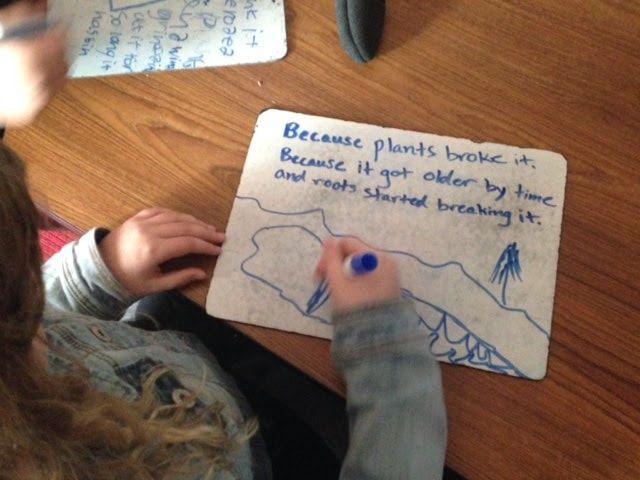
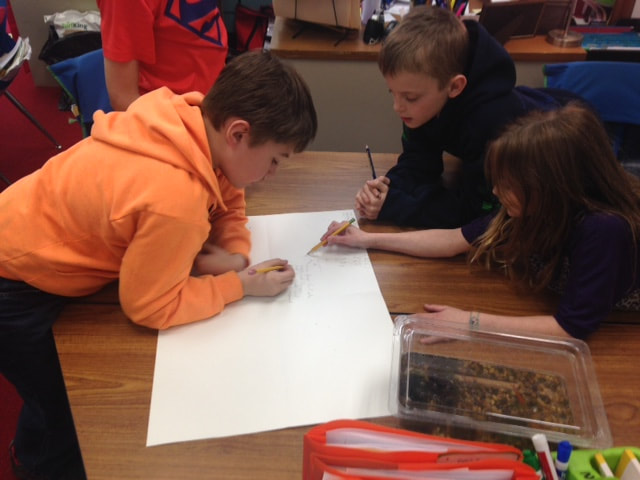
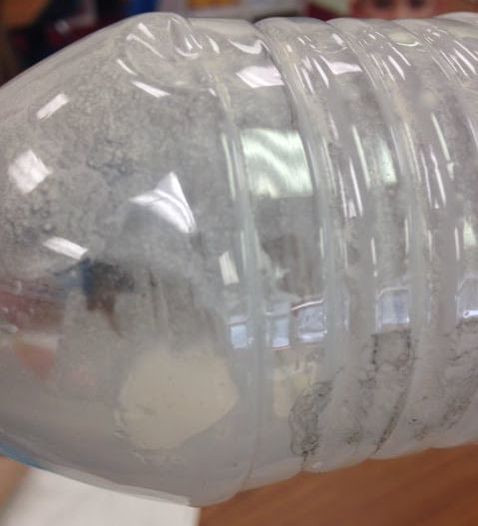
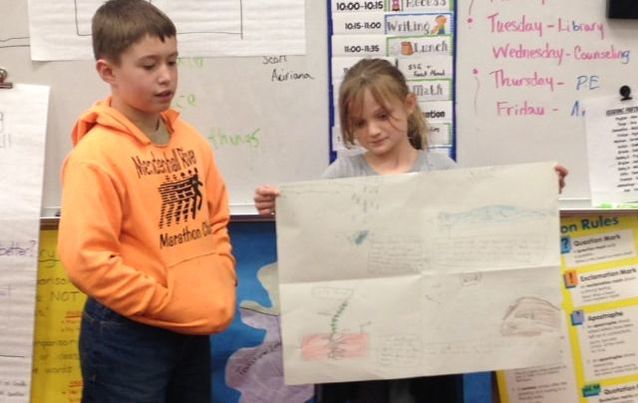
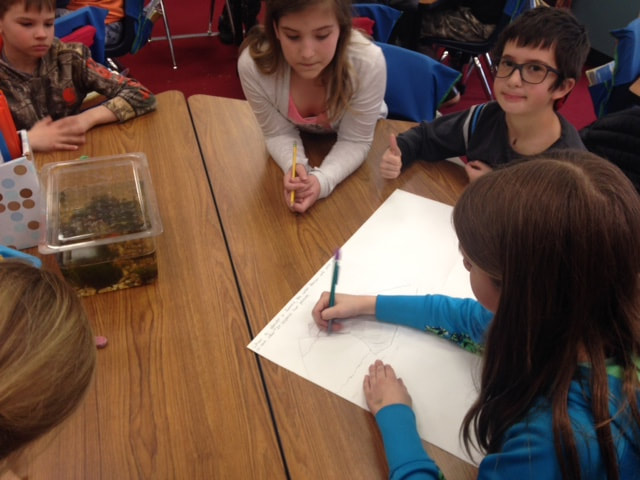
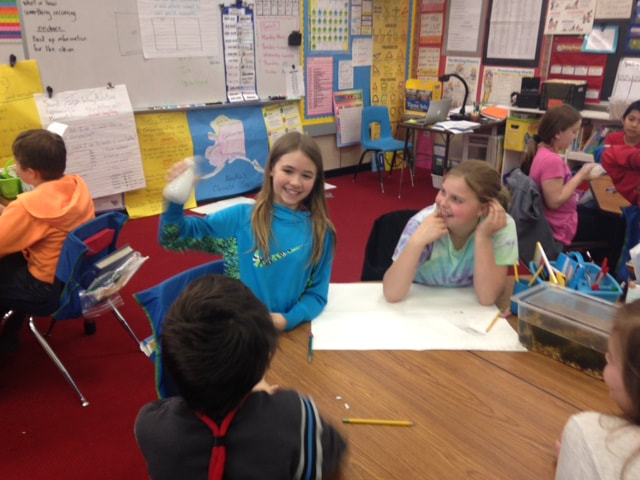
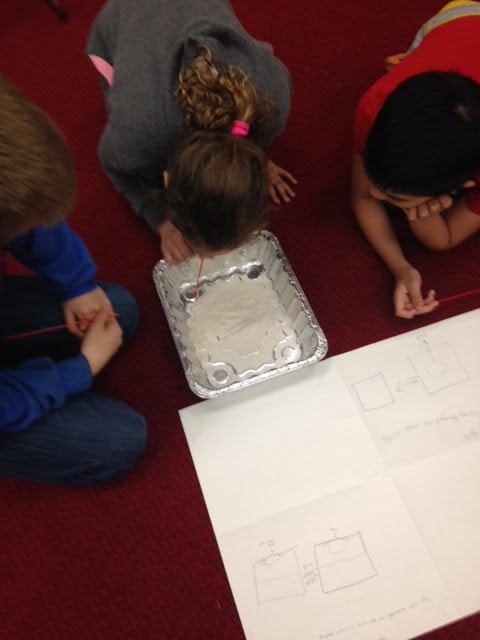
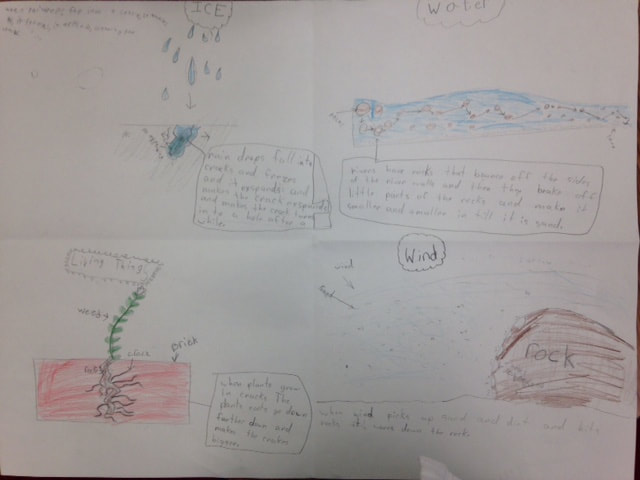
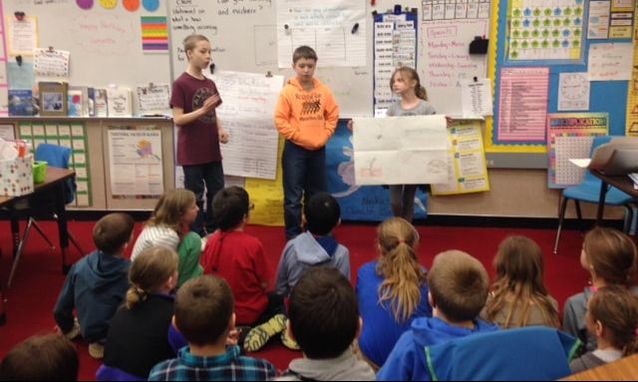
By Jennifer Heidersdorf 4th Grade, Mendenhall River Community School Student Thinking about this image: What do you see? I see sand and mountains. I see an arch. I see a rocks and a canyon with a hole. I see sandstone, orange. I see a rock with a hole in it. What do you think? I think it’s a desert. I think it has reptiles. I think the sun is going down. I think there’s a cave. I think the picture was taken in Arizona. I think there’s very little water. I think it’s really old. I think the rock eroded What do you wonder? I wonder if it’s a hot place. I wonder if it’s a canyon. I wonder if the shrubs are grass and if the arch will fall. I wonder where this picture was taken. I wonder if sand made the hole. I wonder if things got fossilized in the rocks. I wonder if there’s a road or cactus there. I wonder what’s beyond the rock. I wonder how it was created. While attending the NSTA Conference this spring and learning with other teachers on how to implement the NGSS (Next Generation Science Standards), I got excited and thought, "wow, this sounds a lot like the Artful Thinking routine of See/Think/Wonder". We ultimately want all students to observe things, think about why things work, and ask questions that will hopefully lead them to future investigations to find the answers. Presenting students with a phenomenon in the form of pictures or other media creates an opportunity for students to look with their eyes wide open and share their ideas in a safe, nonjudgmental environment. This approach has become a common practice in the way that I start many of my lessons in my fourth grade class. For this opening science lesson, I wanted students to view a variety of images while doing a See/Think/Wonder routine. As we went through these slides, I had students respond aloud and also in written form. I didn’t frontload the lesson or give students any more information then that; my hope was that it would lead to them asking questions and that they would find a common occurrence among the pictures. Students were eager to share and had a wide range of responses and questions. When we finished looking at the images the first time, I asked them to take a quick look at the slides again and see if they noticed a common occurrence happening within the images. I love the engagement of students when they talk about what they’re seeing, thinking, and wondering. By separating out the questions, the routine stimulates curiosity and helps students reach for new connections. I could see from the student responses that they had a deeper interest. Student Thinking about this image: What do you see? I see sand and mountains in the background. I see a big hole in the the standing rock. I see a rock that looks like a hand without fingers. I see a statue of the illuminati. What do you think? I think it’s in the middle of nowhere. I think wind carved the rock. I think something hides or gets in the shade in the big rock. I think there’s water. I think it’s 10,000 years old. I think the rock is not stable and it might fall. What do you wonder? I wonder if people live there. I wonder if the rock is going to fall. I wonder if it was flooded and then got dried out. I wonder what’s behind the rock. I wonder if I can fit in the rock. I wonder if somebody sculpted the rock. I wonder where this is. I wonder how it came to be. Student Thinking about this image: What do you see? I see a cliff holding a building. I see the tide has gone down. I see what would be the ocean. I see wet rocks, seaweed, and blue sky. What do you think? I think it was hard to get down to the beach. I think they’re going to rebuild the house. I think it’s in a foreign country. I wonder if the person taking the picture is underwater. I think there was war before the house was built. I think people would go there on the 4th of July. What do you wonder? “I wonder where the photo was taken. I wonder if I’ve seen it before. I wonder if there was a tsunami. I wonder if the house was a church. I wonder if the water wore the cliff down. I wonder what the people are doing. I wonder how long the building has been there.” Engagement and Enthusiasm What I love is hearing students make connections and but having them make those connections on their own. I didn’t want to give students any vocabulary, I just restated what they said and eventually a student said the word erosion. At that point I asked him what he meant by that and then we were able to substitute that word with a definition that tied into what they were observing but they made the connection on their own. From this point we talked about the different forms of erosion and how it can cause change. Science activities that followed: These lessons served as an entry point into NGSS standards 4-ESS1-1 (Identify evidence from patterns in rock formations and fossils in rock layers for changes in a landscape over time to support an explanation for changes in a landscape over time) and ESS1.C (Local, regional, and global patterns of rock formations reveal changes over time due to earth forces, such as earthquakes). To engage students in the topic of weathering the next day, I presented the class with a picture of an interesting rock formation and gave them the following prompt: With your whiteboard, please use sentences, labels, and drawings to propose an explanation for how you think this rock might have been hollowed out. Please explain how you think this occurred using sentences and drawings. Our Four Investigations Wind: Student groups are provided a container of sand and a drinking straw. Students then blow gently across the sand with the straw. The students are able to see the changes in the sand surface and observe the moving sediment. Students must wear goggles when working with sand. Moving Water: Each group is given a water bottle half-full with water. They then place a piece of chalk in the water and take turns shaking the bottle (moving the water). The students stop after three minutes and make observations. Ice: Students look at a picture (or a real example) of a bottle that was filled with water and then frozen. They can observe the expanded ice sticking out from the top of the bottle and the overexpanded bottle. Living Things: Students are given a baggy with a cracker in it. The cracker represents a rock. Students use their fingers to “weather” the cracker Students then worked in groups of five to propose explanations on a large sheet of paper that had been folded into four sections. I walked from group to group and asked clarifying questions about the science content on the boards (“Can you be more explicit in your drawing about how you think this occurs?”) and about the students’ writing (“Can you label your drawings and add more details using scientific words to explain your drawings?”). I then explained that I wanted each group to come to the front of the classroom, one group at a time, to present their ideas. But, before the first group came up, I directed the students’ attention to a poster on the classroom wall that outlines the group sharing norms that the class developed earlier in the school year. The list contains items such as: • Examine each paper carefully for words and drawings. • Can you identify claims and evidence? • What questions can you ask? • How does your paper compare to other papers? As I reflect on these lessons, I see how important it is for my students to be able to explain their thinking with drawings and explanations. As students observed the connections that other students made, many had some realizations that their paper didn’t look anything like other students papers. I wanted students to have a range of connections but well thought out connections. This is something that students have to practice at, it definitely does not come easy. I plan to start this strategy much earlier in the year next year to see just how much students improve and grow through the year.
0 Comments
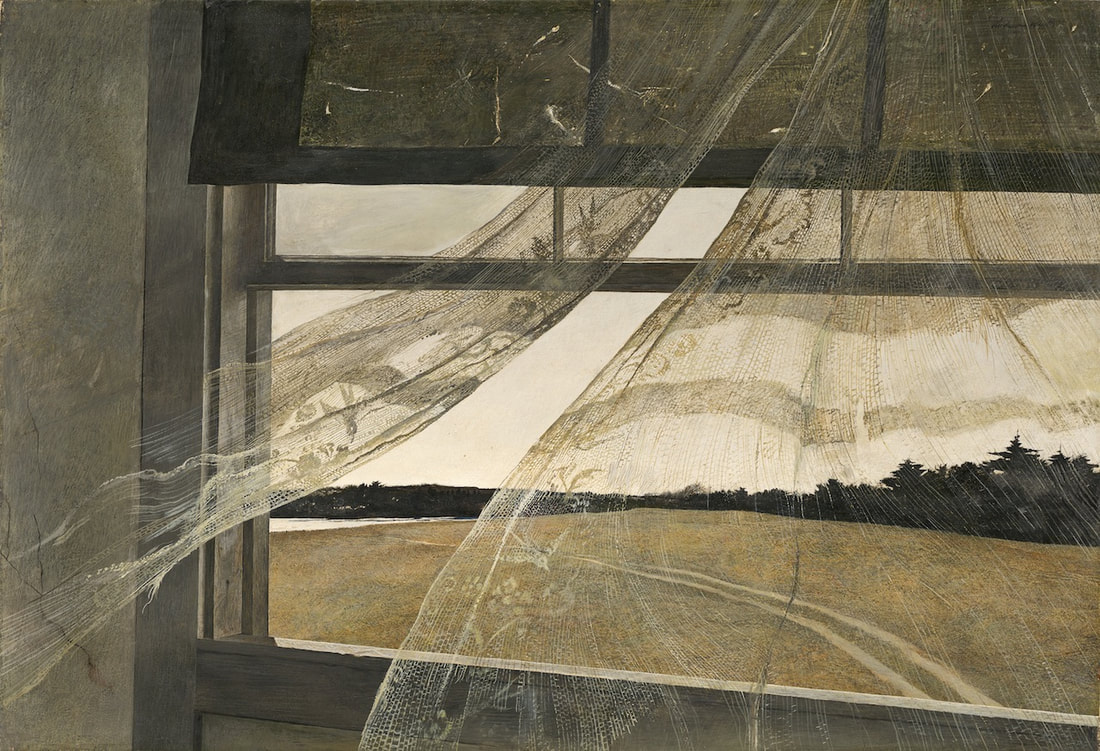
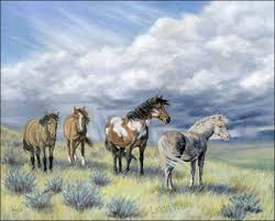
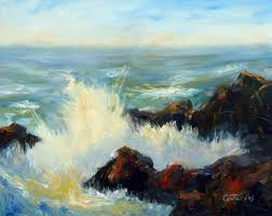
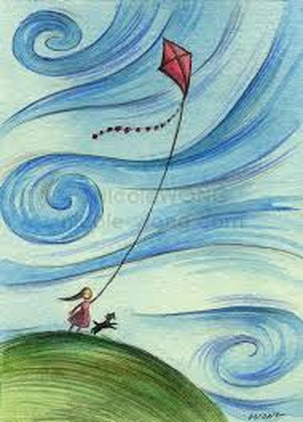
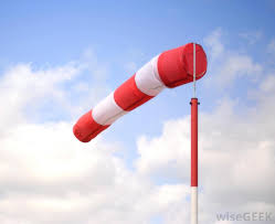
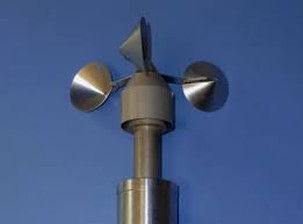
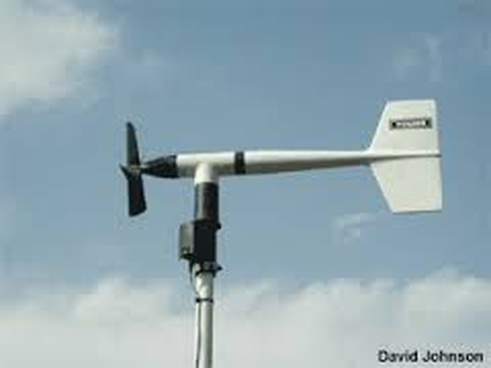
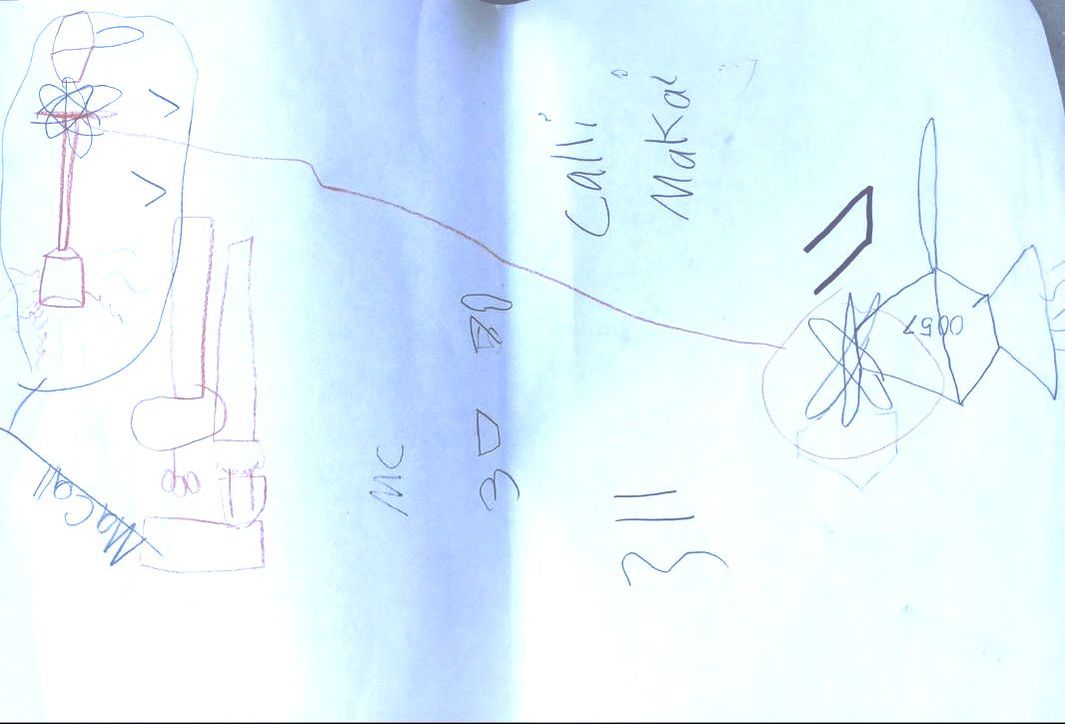
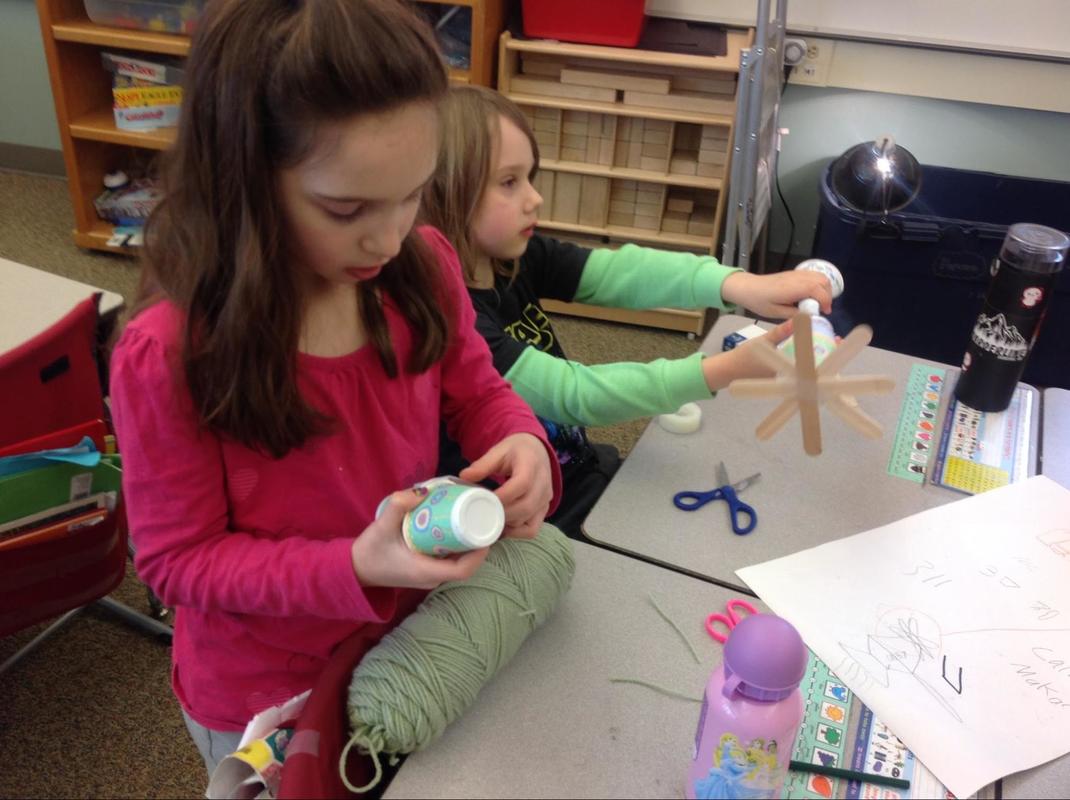
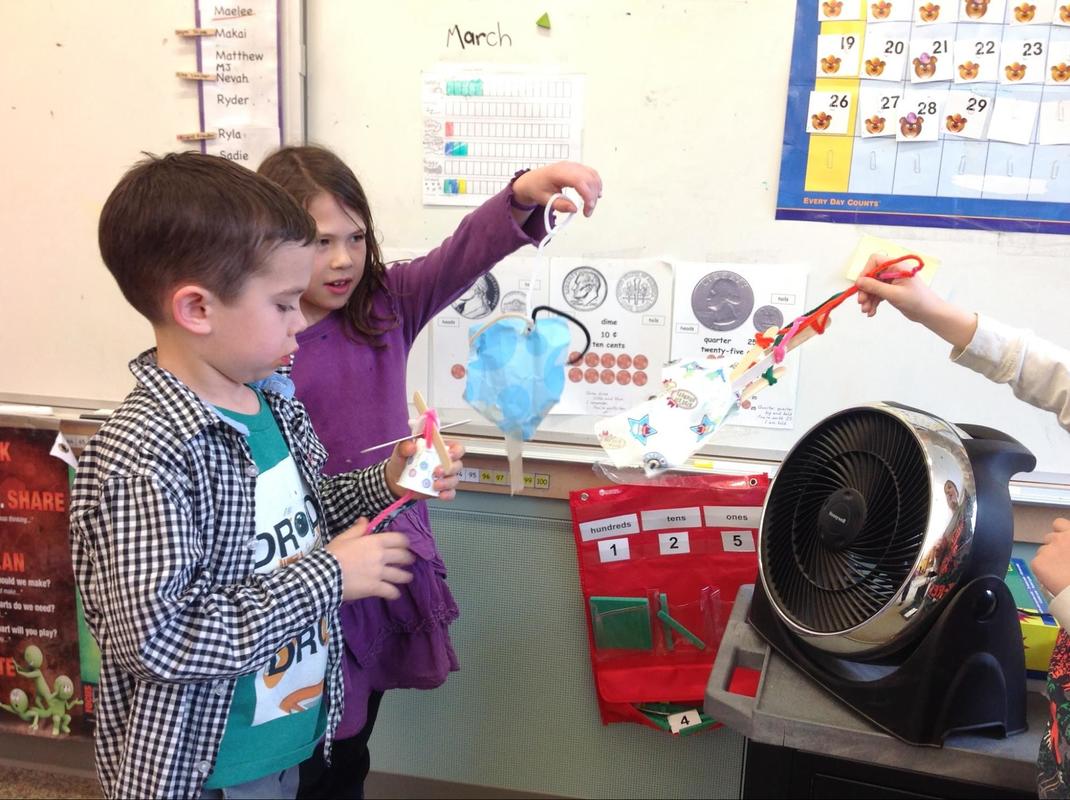
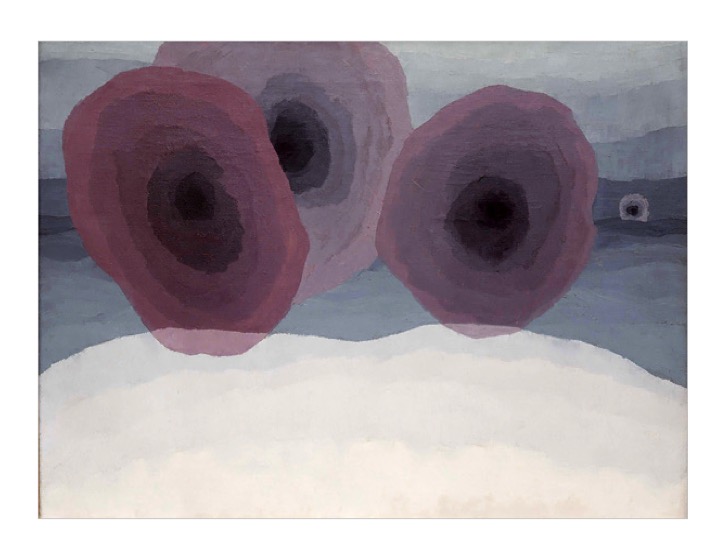
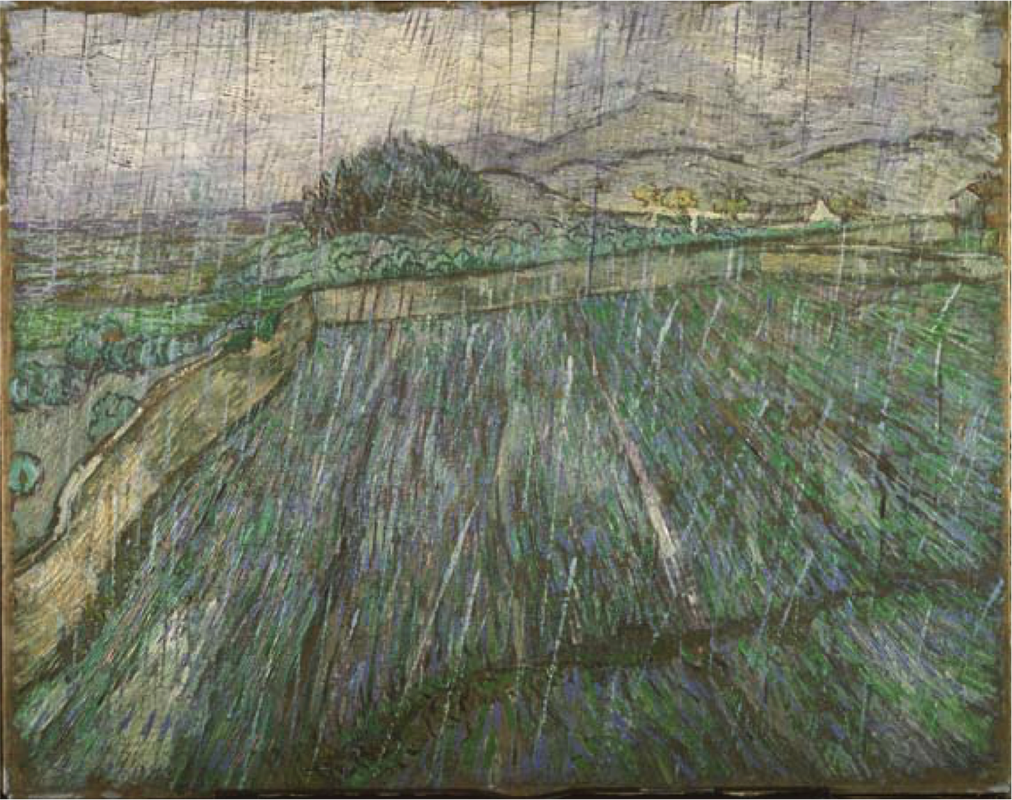
By Allison Smith 1st Grade, Auke Bay School Artful Teaching has transformed the way I teach. One example is when we studied weather this year. In the past, when we studied about wind, students made wind flags measure the wind on a scale of 0-2. The flags are made from fabric and cardboard cut for them ahead of time. The emphasis in this lesson had been on the measurement of wind, not so much on the creation of the wind flag. This year I decided to use Artful Teaching to introduce the concept of wind and measuring wind by showing my first grade students different paintings showing wind and wind gauges. That got me thinking...if students are looking at pictures of different wind gauges, why not have them design and create their own wind gauges and test them? What started with me looking for images to introduce a lesson turned into a great STEM project for my students. First I asked students to See, Think, and Wonder looking at 4 paintings showing wind at the same time. Then I asked them to think about what was the same about all of the paintings. “It’s windy!” Was the common answer. Students then talked in small groups about how they knew it was windy. “The curtains are blowing.” "The horses’ manes and tails are blowing.” “The person is flying a kite.” Are a few of the things they shared. Our next step was to work in small groups to look at pictures of different tools designed to measure the wind. I explained to students that we would be looking at these wind gauges and asked them to discuss how they thought they worked. The conversation was lively with lots of pointing at parts of the pictures to explain how they worked. After students had a chance to look at and discuss how the wind gauges worked, I gave them the challenge of creating their own wind gauge by making a plan, building their wind gauge, testing their wind gauge using a fan, and revamping their wind gauge as necessary. It was an amazing process to watch and be a part of. Students were engaged in all parts of the project, taking time to create their designs as well as testing, revamping, and testing their gauges again. After our wind gauges had been tested and redesigned, students took them outside to measure the wind speed on a scale of 0-2. The student created wind gauges worked just as well as the flags we used to make! At the end of the project, I asked students to share what they learned. Here’s what stuck with me:
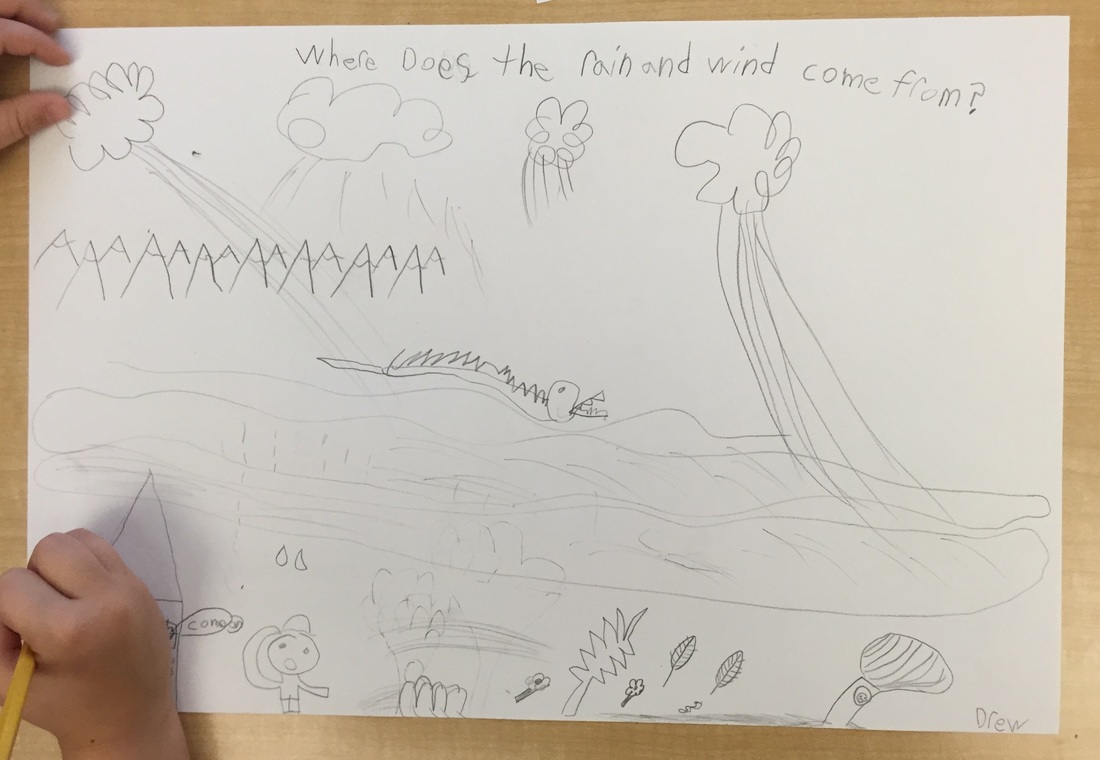
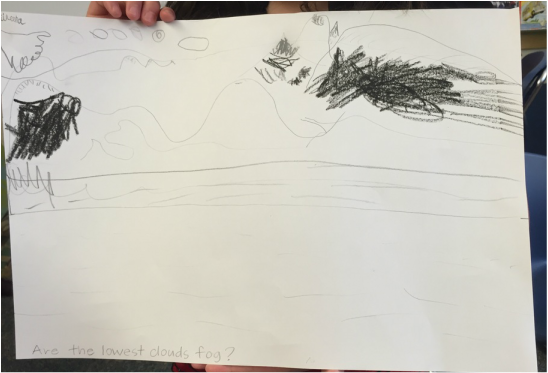
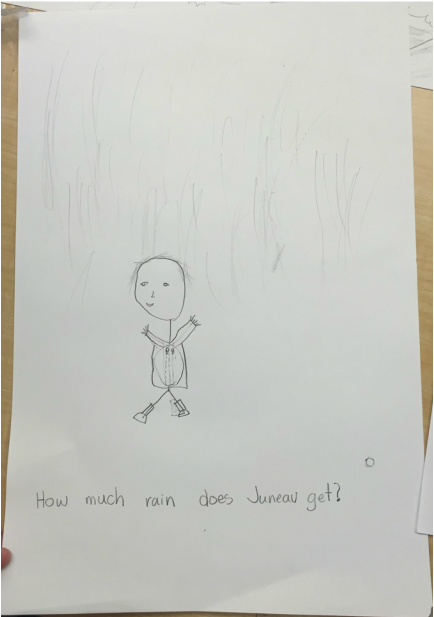
“If your wind gauge doesn’t work at first, change it and try again.” In the end, this lesson was just as much about the design and creation process as it was weather. Thank you Artful Teaching for expanding my horizons! Wind, Fog, and Rain: Ms. Hinderberger's First Grade Class Thinks and Puzzles About the Weather1/11/2016 What do we think we know about the wind? "The wind is cold." "It's strong!" "It can blow things." What puzzles do we have about the wind? "Where does wind come from?" "What does it look like?" What do we think we know about fog? "The fog is quiet. But you can see it." "It touches the ground." There's no fog in Hawaii." What puzzles do we have about fog? "What does fog look like? Does it always look the same?" "What is fog made out of?" What do we think we know about rain? "Rain is wet." "Rain can be really hard or soft and be like slush." "Rain comes down." What puzzles do we have about the rain?
"When snowflakes melt, do they become rain?" "When puddles get made, they are different shapes, but when the sun comes out, do they evaporate?" |
ArtStoriesA collection of JSD teachers' arts integration classroom experiences Categories
All
|
|
|
Artful Teaching is a collaborative project of the Juneau School District, University of Alaska Southeast, and the Juneau Arts and Humanities Council.
|


 RSS Feed