|
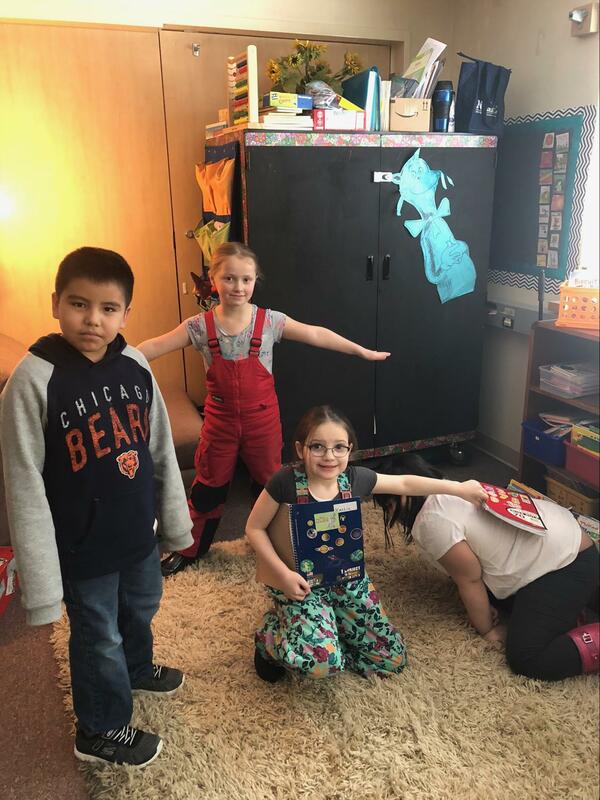
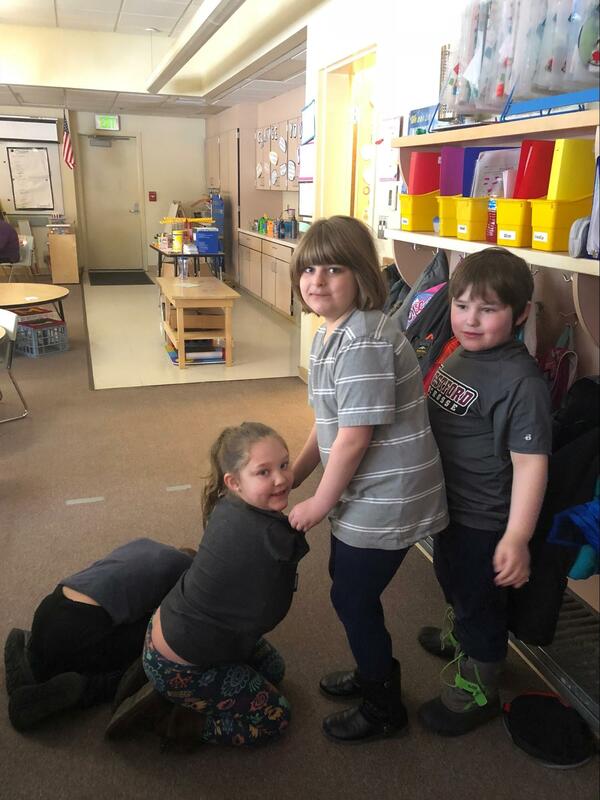
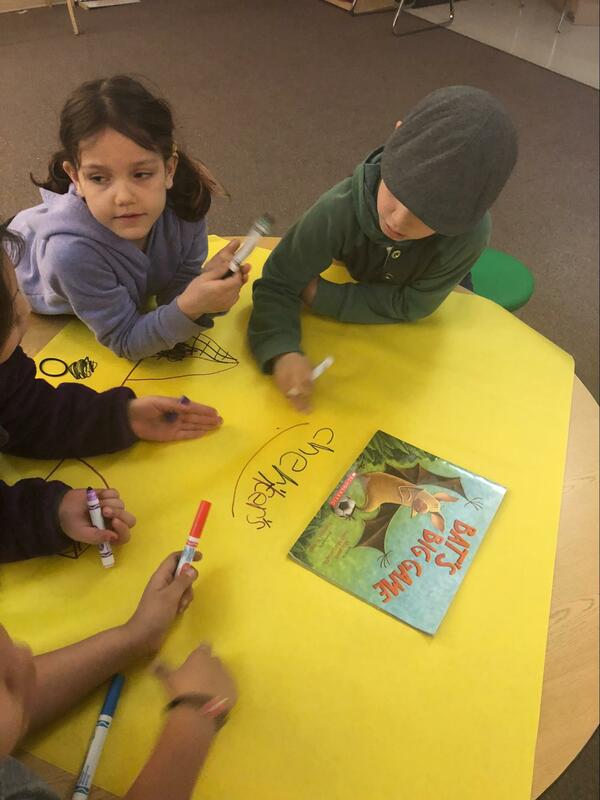
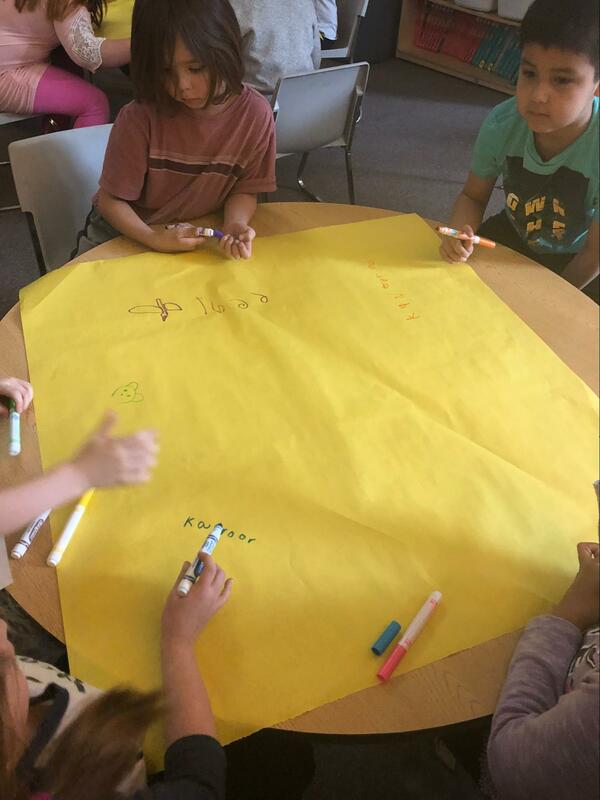
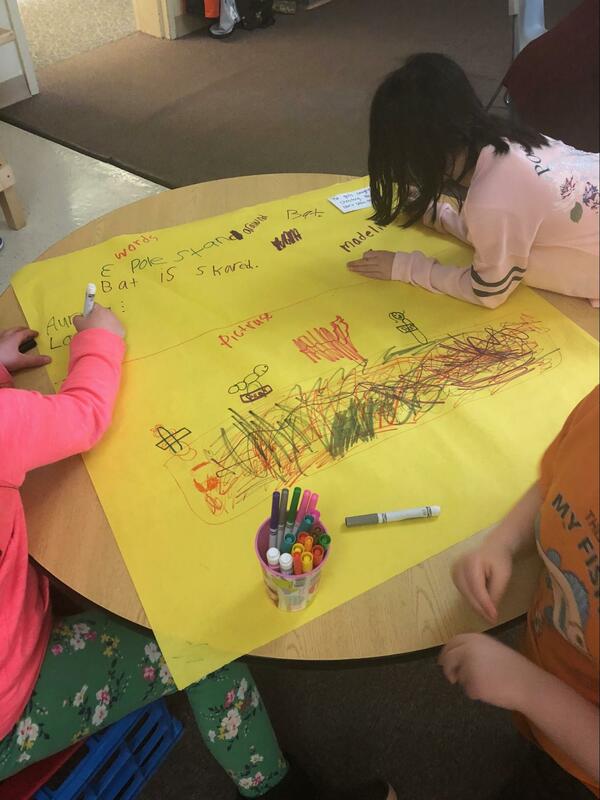
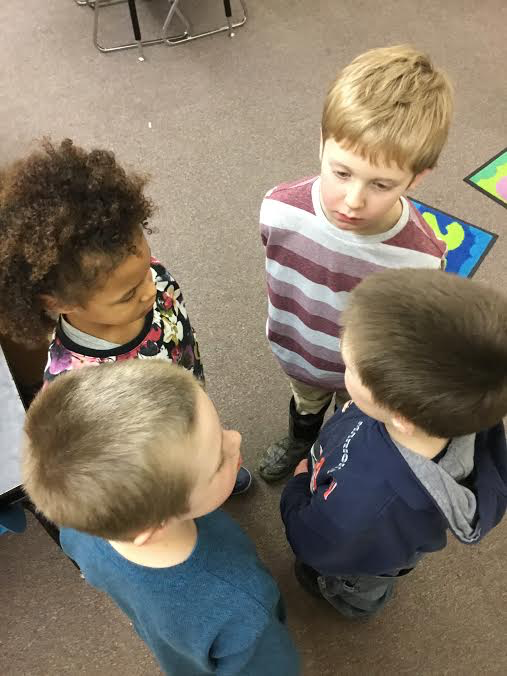
by Shawna Puustinen Primary multiage, Riverbend School 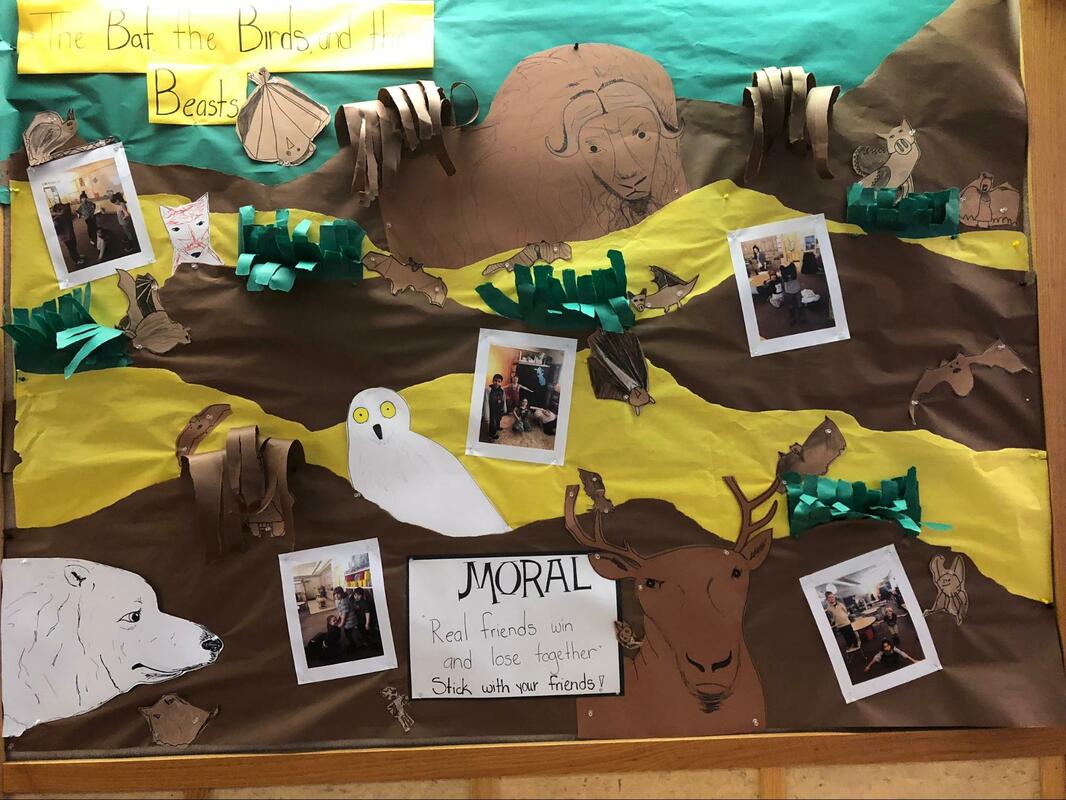 Classroom Bulletin Board: The photos are of tableaus the kids created after reading two different versions of the Aesop’s fable: “The Bat, The Birds and the Beasts.” The brown bats were drawn by each student using observation drawing techniques. Artful Teaching has giving me so much to think about. I have spent the last decade integrating art into my language arts, science and social studies units. An art project here, a drawing there, a model of a neighborhood made out of milk cartons. That’s art, right? I guess it never occurred to me that I could use art to teach social studies, math, science and language arts. I would love to say that this realization resulted in a complete overhaul of my teaching, in which every lesson was embedded with artful learning. Of course, I can’t say that. I can say that I have embedded artful learning routines into my day (well, not everyday). I am slowly but surely building my understanding and gaining the skills needed to be an artful teacher. Our school has adopted the One School, One Book initiative. For the past two years our amazing PTO has picked one book and purchased a copy for every student, staff and employee in our building. The idea being that we will all read the book and be able to talk about it. Teachers read the book in their classrooms, students take their copies home and the school hosts some school community events and activities. This year, Arctic Aesop’s Fables by Susi Fowler was the book chosen. Each classroom picked one of the fables from the book to design a bulletin board. What started out as a small cooperative art project ballooned into a full-fledged unit of study.
We looked at characters, settings, problems, solutions, and the moral of each story. We then compared the two stories, looking for similarities and differences. We had lots of great discussion about friendship and good sportsmanship. On what I thought was going to be the last day before I was to leave on vacation, the students worked together in small groups to create tableaus for their favorite parts from one of the two stories.
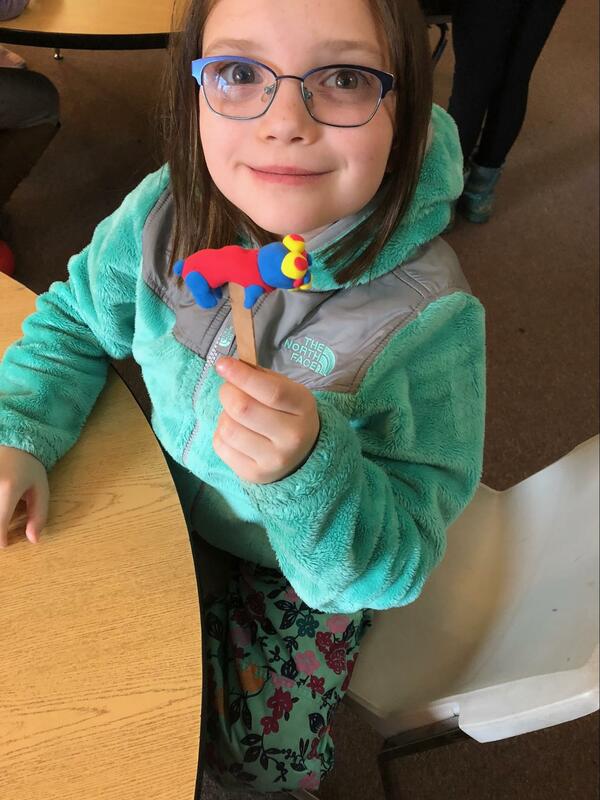
On Monday I boarded a plane for a wonderful week in the Florida sun, completely forgetting that months before I had promised the kids that we would do a puppet show. Guess who didn’t forget. My daughter, who just happens to be one of my second graders this year. Ugh! Aren’t there rules about having your own kids in your class? Just kidding. It has been a blast having my daughter in my class. So, that’s how it happened. I got back from vacation and my daughter reminded me and the rest of our class that I had promised a puppet show. Clay, sticks and imagination… I am going to start this section by confessing that I hate puppetry. Nothing makes me feel sillier than interacting with a puppet. I have tried...really. I have spent countless uncomfortable minutes having conversations with Impulsive Puppy and Slow Down Snail. It always leaves me feeling...weird. So, I knew that trying to teach a puppetry unit was going to stretch me in many ways. I started the unit with dot sticker popsicle stick puppets. The kids each got to draw eyes and mouth on their dot sticker and put it on a tongue depressor. Most of the kids were pretty excited, but a few were less than excited to be holding a tongue depressor puppet (oh, how I could relate to them). With great enthusiasm, I demonstrated arm positioning, puppet posture, large puppet movements (walking, running, going up and down stairs, lying down, getting up, etc), wrist movements (yes/no, looking up/down/around, reading, etc.), puppet emotions, and voice projection. The same few less-than-excited puppeteers actively tried to sabotage our puppetry lessons. Their poor tongue dispenser puppets experienced great head trauma while being repeatedly banged against tables and the floor. They refused to participate in voicing activities and their “I am too cool for this” attitudes were starting to spread. I was ready to call it.
As soon as the popsicle sticks were attached the kids were becoming their puppets. A few kids, were working together creating quick puppet skits. I still had one very reluctant artist. He was about as excited about creating his puppet as he had been about using a puppet. The kids got to pick one puppet to leave at school for the puppet show, and then take the other puppet home. One girl came back the next week with more than 10 little clay creatures she had made at home. It was neat to see how her creatures evolved from simple to very detailed and sophisticated.
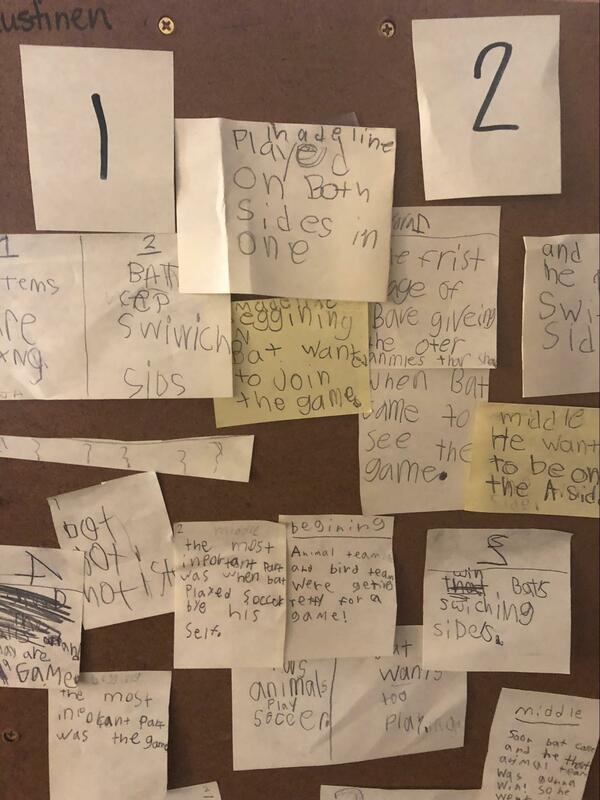
During a morning meeting time, we watched two videos of people putting on shadow puppet plays. After watching the videos, I used the “See, Think, Wonder” thinking routine to help my kids process what they had seen. I was very impressed with what they observed. Many picked up on the techniques the actors were using to make their characters come to life. They noticed things like how voices changed from one character to the next. How the puppeteers used multiple sticks to move different parts of the puppets. They noticed the props changed from one scene to the next. They wondered about what would happen next in the stories and how the puppeteers made their puppets. As I watched and listened to them share with each other, I saw engagement, inclusion, success. The playing field was level. Each one of them, regardless to their background, learning needs, age, grade, etc., was able to share something that they saw or thought or wondered. 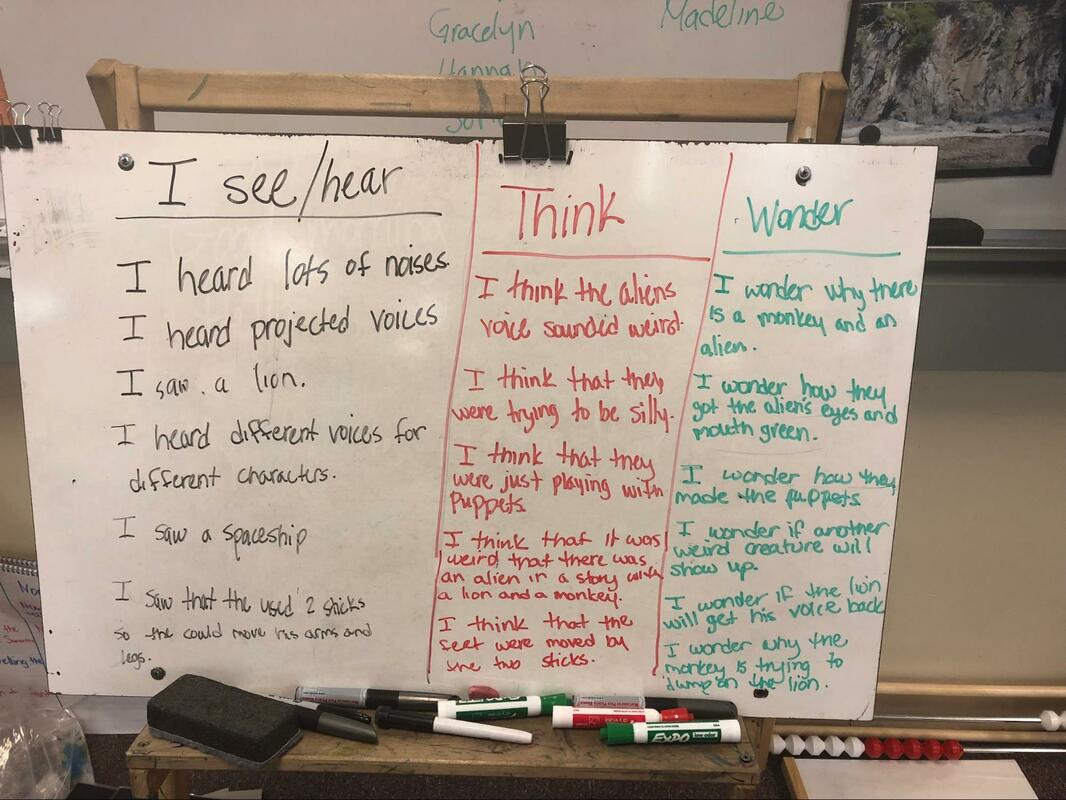 Since the tableau process is very familiar to my students, I used the same process to get them started with planning their puppet skits. The groups did their thinking and sharing just like in tableau. When they were ready to plan, I had them go to tables to brainstorm what they would need to make their scenes works:
Tomorrow is our big production. The kids haven’t even finished the scripts, but I think it will be okay. I told them that I would video each of their skits and then we could all watch them together on the big screen in the room. All but one seemed really excited about this. As I am sitting here writing this, I can’t help but smile. These kids have done some amazing work in the past few weeks. It goes way beyond close reads, reading comprehension and craft projects. They connected to a story, stripped it to its bare bones, extracted the underlying message and then rewrote it in their own words. They worked cooperatively in groups. They explored new and old art forms. They created. They problem solved. They observed. They asked questions and found answers. They supported one another. They tried new things. They took risks. They stepped outside of their comfort zones. They failed. They persevered. It would be hard not to be proud of the work they have done. So tomorrow, no matter what happens, I will stand and applaud each of them with genuine admiration.
And it all started with one fable, from one book.
0 Comments
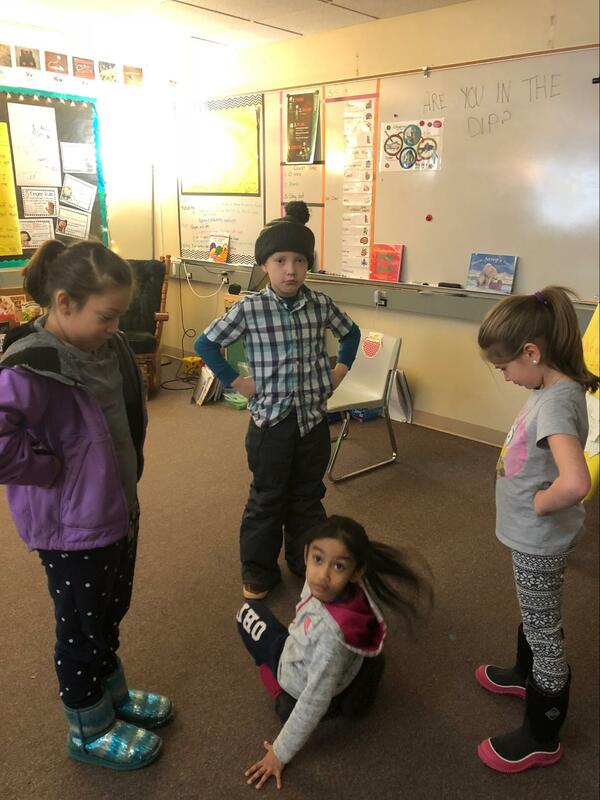
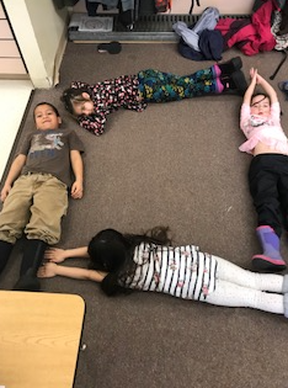
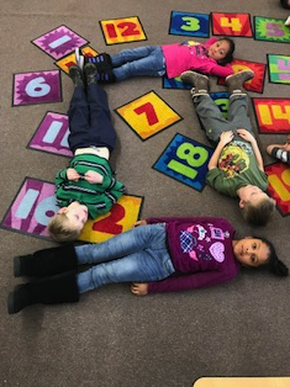
by Katy Goodell 1st Grade, Riverbend Elementary 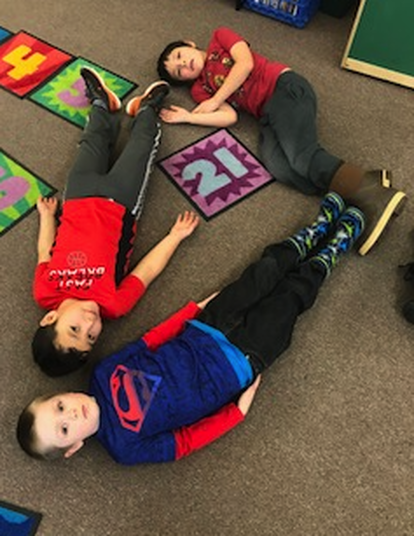 ,Artful Teaching has become part of every day in the classroom. Whether it’s the vocabulary I’m using, a thinking routine, the actors toolbox, or tableaus, some part of each of our day involves techniques and skills I have acquired this year through this amazing opportunity. I have decided to share some pictures of some things I have done in my classroom using tableaus. I personally believe that handing students a paper and pencil doesn’t actually show all that they can do, especially when it comes to assessments. So, this year I chose to use tableaus as formal and informal assessment tools. In these first three photos you see students laying on the floor in different shapes. We went through the actors toolbox then dove into some tableau work with plane shapes. During this time, students were learning all about different kinds of shapes in math. I used this time to include some tableau work to assess how the students were understanding sides, vertices, and angles.
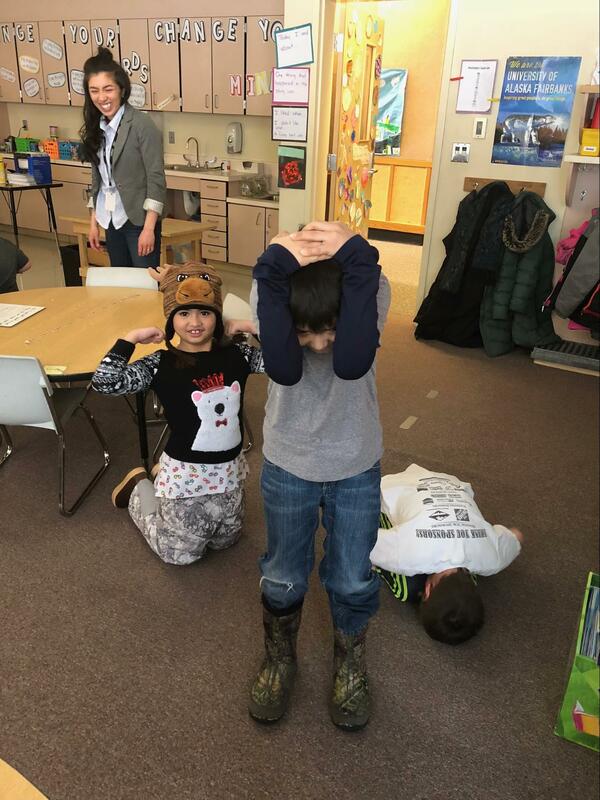
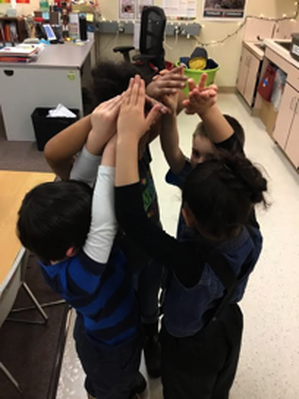
You will notice that all three tableaus are on the ground. One of the characteristics of a tableau is that there are levels. Students seemed to really struggle through figuring out how a plane shape could have different leveles. They were so stuck on the fact that it’s two dimensional and the fact that they see these shapes as something flat. Next year, when I go through these lessons again, I really want to discuss in depth that just because a plane shape is flat doesn’t mean it has to be flat on top of a surface. It was really interesting to see the students struggle through this. When we debriefed after our tableau work, students were surprised and seemingly caught off guard when I brought this to their attention. This made me reflect a bit on my teaching during these lessons. It showed me that I didn’t explain that just because it’s a plane shape, it doesn’t mean that it has to be “flat on the ground.” With all of that being said, the kids were still successful during this process and they weren’t using a pencil and a piece of paper. They were reflecting on the different attributes of plane shapes and discussing how they could create those shapes as a team. Each team was able to create a plane shape without support from anyone other than their own team. It was fun to watch them go through Think, Share, Plan, and Create. They could make it through Think and Share, but once we got that far, they were so excited to plan and then create that most of them would just start it. I had a hard time with that at first. I couldn’t decide if it really was appropriate to stop them when they were so excited to learn and create together. But I quickly got over that because it caused more issues than success. Throughout the year I have gotten more and more comfortable with the tableau process, which has me extremely excited for D.C. and next years implementation! 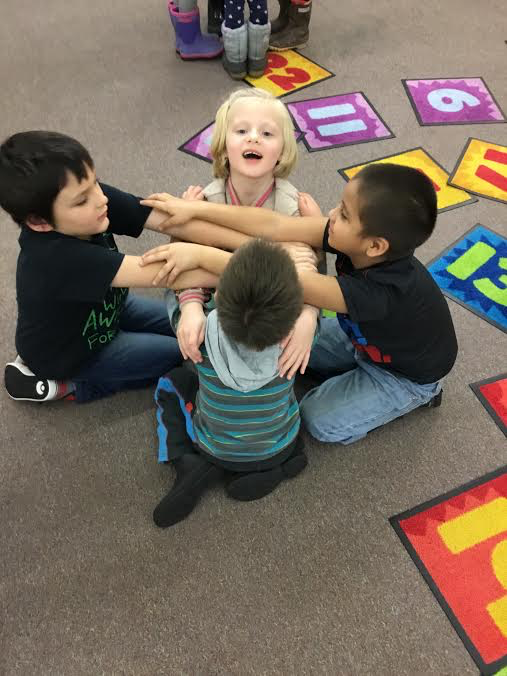 In the next set of photos, you see students at different levels. You also see students being assessed once again. It was so great to have a tool to use this year aside from a paper and pencil. This second set of photos was taken during my formal observation earlier this year when my principal came in to observe. I had been talking about Artful Teaching and how much I had been enjoying spending some of my time outside of school at these amazing workshops when my principal said, why don’t you show me what you have been doing… There are so many times where I feel that we as teachers feel like we have to show what we are doing with the curriculum and our implementation of it, that we forget there is an art form to teaching. Artful Teaching has helped me express my teaching art form in ways that I don’t think I would have come up with on my own. During this lesson, my students were being assessed on what they had learned through the week about solid shapes. They had to consider the faces, verticse, sides, and angles. This was a very challenging lesson and assessment tool. We had done quite a bit of work with our foam solid shapes, and I knew my students had learned and understood quite a bit about the attributes about solid shapes, but they honestly blew me away during this assessment. Each group went through Think, Share, Plan, and Create. Through out this process, I was walking around listening to the different thoughts and plans they had. Their consideration for all of the attributes of these shapes were amazing. This really gave then the opportunity to think about the shapes that each solid shape have within them. As I walked around the room I heard groups discussing how the cube has square sides and how a pyramid has a square base. These are things that we had discussed but when they actually had to apply those attributes to a real life creation of these shapes, they had to think more deeply about what each shape really looks like.
Some groups were more successful than others. I found that students had a hard time deciding if the attributes that one friend had shared were actually true in regards to the solid shape they had chosen to create. It was also hard for students to decide what each person was going to do. They were all so excited about what they had learned that they wanted to play every part.
We did these tableaus a few different times so each group had an opportunity to create different shapes. As we continued the work, the tableaus got more and more detailed. I am so grateful for the opportunity to be part of such an amazing experience. I have grown so much as an educator and I can’t wait to continue this experience next year with my peers and my students. by James White 6th Grade Math, Dzantik'i Heeni Middle School 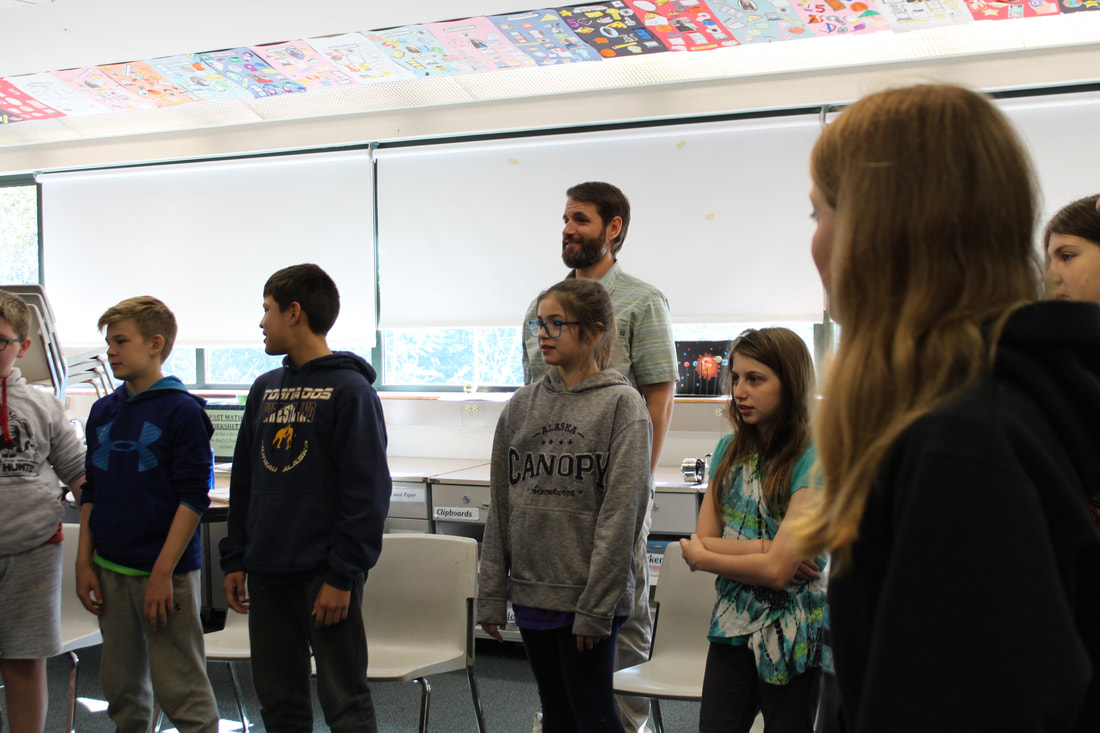
I chose to teach my 6th grade math students about Integers (positive and negative whole numbers) and Integer Operations (+,-,X,/) through Curriculum Based Readers Theatre (CBRT). Students learned about CBRT, properties of Integers and the rules for performing operations with Integers. I followed a basic sequence of direct instruction note taking on the concepts (similar to the routines already established) and then used sample CBRT scripts to introduce CBRT. Students then developed, rehearsed, and performed a CBRT script that they wrote as a class. I assessed the effectiveness of using CBRT to teach the rules of Integer Operations by having these students take a pre and post test and then analyzed the results. Integers and Integer Operations are critical concepts for advancement through pre-algebra, and the first concept these students will learn at the start of 7th grade. 7th grade mathematics teachers stated that they wanted to have 6th graders exposed to these concepts by the end of their school year so it was more familiar by the time they taught it at the start of the following year in their classes. Being that it was the end of the school year, I also decided to incorporate CBRT as a fun way to engage my students in learning about a performance art with the support of drama specialist Roblin Davis, a local actor and fellow Artful Teaching participant. WEEK 1 - Intro to Integers & CBRT I started Week 1 with an introductory lesson on Integers by having my students learn common vocabulary (integer, positive, negative, opposite, etc.) and concepts by leading a note taking lesson where students filled in blanks to these definitions and important ideas.   "The next day Roblin Davis joined our class and we introduced CBRT by discussing gestures and sound effects and then reading an Introduction to CBRT script. Here is a video of students learning the technique of emphasis when speaking: The next lesson involved my class taking what they learned about Integers and adding to their knowledge by reading a CBRT script about Integers. We also discussed where and how to incorporate gestures and sound effects to make our reading more informative and entertaining. Students had fun adding the gestures to this script and making sound effects! We finished our Introductory lessons to CBRT and Integers by doing math worksheets which practice writing integers and comparing/ordering them. I was able to incorporate a lot of the gestures and sound effects from the Integers script while kids worked through the practice problems. WEEK 2 &3 - Integer Operations and CBRT Script Writing I started the next week doing a pre-test of students knowledge with Integer Operations (+,-,X,/) within 10 minutes and also had them complete notes which introduced the rules for these operations. 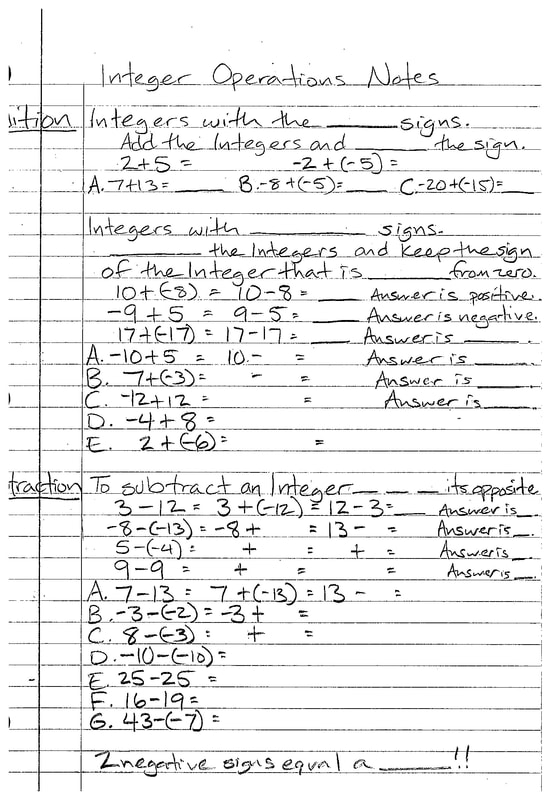 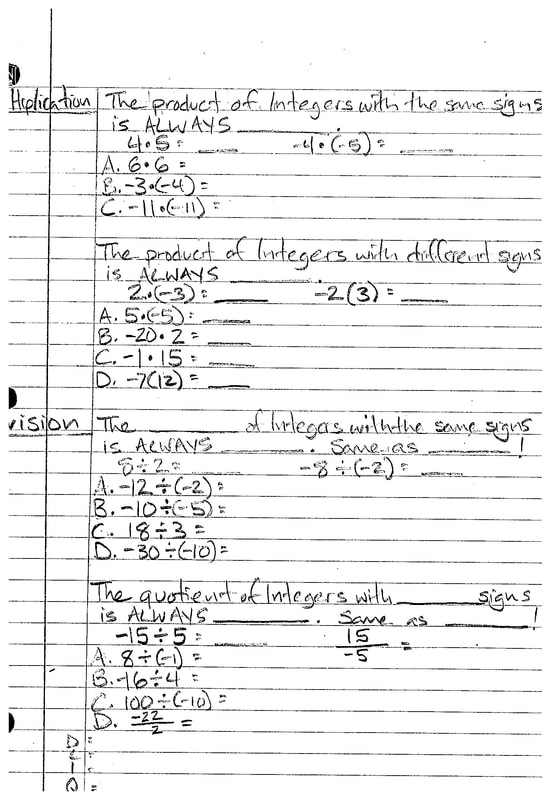 Roblin joined us for next class day as he helped guide us through the script writing process based on the rules for integer operations we learned the day before. Here are some great resources to help get your students thinking about the writing process and guide them through writing a script: It took both of my classes some time to get the important concepts out and then outline the setting characters, gestures, etc. needed for writing the script. This took us two class periods to develop our scripts but at the same time students were repeatedly rehearsing the rules for operations with integers so I felt as though it was time well spent. Here are the final versions of our scripts! During the next class period we rehearsed our scripts and recorded them. I showed the students their recorded rehearsals and introduced them to the CBRT Assessment Rubric below: While watching their rehearsals, students were asked to complete a self assessment to better understand how they were graded and identify areas they could work to improve on during rehearsals and final performance. The final sequence of lessons was adapted as timing did not allow for a performance before the post assessment, but that would be the suggested method. At the end of the week, students were given an Integer Operations Post-test to complete in 10 minutes. It was the same exact questions as the pre-test along with the following comprehension/reflection questions. The results from the post test showed students definitely learned from the CBRT unit on Integer Operations. Students in my Period 1 class Integer Operations Camp, averaged 8.3% increase in the tests. 13/15 students increased their overall scores. It was not that surprising that the students whom didn't take a specific part in the script (not as engaged during the writing, rehearsals and performances) had much lower increases than those that did (including the two who scored lower on the post test). Students in my Period 2 class Integer Operation Olympics averaged almost 15% increase in the tests. 18/20 students increased their overall scores. This class had some huge gains in percentages like 45% increases and many whom are on IEPs or have lower grades on previously taught concepts achieved higher than their norm. I also asked students to answer the following comprehension questions about CBRT and our Integer Operations unit.
Most common responses to these questions were that CBRT helped them learn and it was fun! Many students also acknowledged that the repletion of rules reading through the scripts helped them learn better. Students were also given additional rehearsal time after the post test. The first day of the last week was our performance day. We invited other math classes to attend our performance and followed the outlined lesson below created by Roblin in preparation for the performance. Final Reflection:
I really enjoyed the opportunity to learn about and implement a CBRT unit in mathematics. I was able to teach an advanced grade level concept to students at the end of the year while at the same time making the learning personally relevant, fun and totally engaging. Had I followed the sequence of the textbook for this unit, it would have taken me at least 17 class periods (55 minutes each) but with the entire CBRT unit it took less than 12. From the assessment results, I saw that it had a positive impact on student learning and from the comprehension questions as well as my observations, students really enjoyed the process. I am totally on board to try implementing CBRT in my mathematics classes much earlier in the school year and using it continually as a way to teach math through performance art. It was a real pleasure to be a part of this process and I hope other teachers are interested in trying it themselves. Observations by Becky Engstrom 3-5th Grade TED Specialist, Gastineau and Harborview Schools BACKGROUND As a specialist serving intermediate students grades 3 through 5, I have always rotated language arts units on a 3-year basis to be sure students are offered an eclectic mix of content supported by lessons to improve reading and writing skills. One of my favorite units has always been an art biography unit. Students would do research on an artist collecting pertinent facts by taking notes. They would use the notes to write a three paragraph report on their chosen artist. They would write haiku poetry about their artist and the art work. They would create a piece of work combining their artist’s style and beliefs with their own, then they would support the piece they created with a description explaining their reasoning behind their work of art. All these parts are then mounted on a poster board which has always made for a beautiful display. 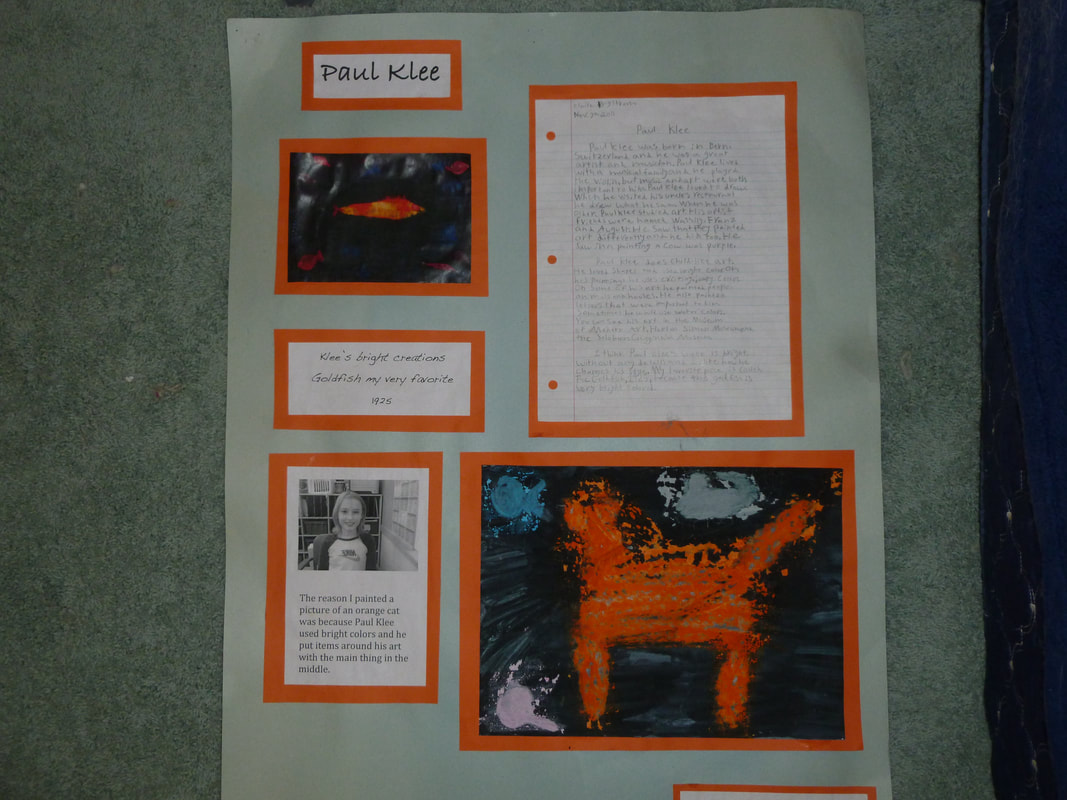 CHANGE After signing up and committing myself to the study of Artful Teaching, the first thing I wanted to do was change this unit to create more opportunities for authentic artful thinking using a variety of thinking routines from different thinking dispositions. I experimented with a selected artist to experience different routines that would help students when they finally selected the artist they wanted to study. I chose Frederic Remington to learn and model different thinking routines. We did a verbal See/Think/Wonder in table groups with different Remington pieces, then used the same pieces to do a verbal Beginning/Middle/End. We experienced Step Inside with a work from Remington. We studied desert vocabulary (mesa, plateau, canyon, butte, saguaro, ocotillo, etc.) and used that vocabulary to create tableaus. ON THEIR OWN After students selected their artist, gathered notes, and wrote their report, I selected a piece from their artist, printed it out, and students wrote their See/Think/Wonders on the printout. Students also selected a piece from their artist that they wanted to attempt to turn into a Tableau (step inside). The student who selected their piece would become the tableau director and had to put people in position until they were satisfied with the outcome. It gave me a good understanding of which students had excellent communication skills and which students needed improvement. It also helped me see the students who noticed many details and the ones who did not. I would have to bring focus to areas in the piece with questions… “What direction are they looking?” “What is their hand doing?” The amount of information I received from this one activity was a true eye-opener! Students also extended their thinking by creating a piece of art that connected their own thinking to the artist they were studying. CRITIQUING AN ARTIST Students wrote a research paper on the artist they picked. The last paragraph was their opinion of the artist they selected. I especially enjoyed reading these paragraphs. NEW PROJECTS DISPLAYED IN RETROSPECT
Although I believe the old poster board displays were more visually pleasing and beautiful, the new displays showed more artful thinking; the most beautiful moment to catch is proof of a brain in action. Whereas the old displays had more writing skills involved, the new supported the process by which learning took place. It was inspiring to watch the students make incredible observations. To listen to the details noticed to create the tableaus was a treat. To read their observations of the students’ chosen artist was deeply satisfying. Teaching became more passive, as if I handed the wheel to the students because they were ready to drive. It’s scary, and wonderful at the same time. by Michaela Moore JDHS, ELA & Drama 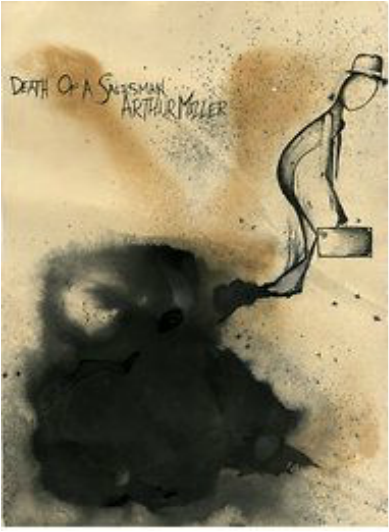 Poster by Ashley Butler, Parsons the New School of Design To introduce the play, Death of a Salesman by Arthur Miller, I first put an image from a poster of the play on the overhead and had the students go through the Thinking Routine of SEE/THINK/WONDER:
After this Thinking Routine, I asked the students to complete a Crowdsourcing activity about Arthur Miller. The students found information quickly about Arthur Miller and came up and wrote in a word splash on the whiteboard fun and important facts. We took a few moments to discuss surprises and interesting facts found in table groups and in whole group. Then I asked the students to prepare for notes: I introduced the 4 main characters from Death of a Salesman to students and asked them to choose one character that they would focus on in their project and notes. I instructed the students to write anything important down about the character (personality, weaknesses, strengths, choices, goals, motivations, etc) while we watched the play. After we finished watching and discussing the play, I passed out the text of the play and asked the students to fill in holes in their notes about their characters AND to add important quotes said by their characters, or important quotes others said about their characters. 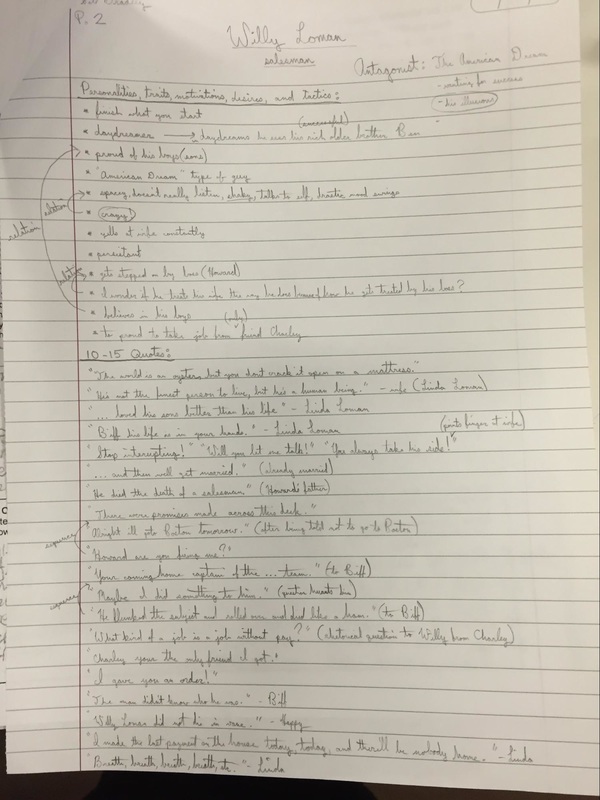 Once, these notes were complete, I taught the students step by step how to draw a caricature of their character beginning with a sketch first and then moving into their final draft. We first discussed the idea of caricatures and how they were different from real portraits or pictures. We discussed the symbolic nature of caricatures. (Learned from work of Richard Jenkins).
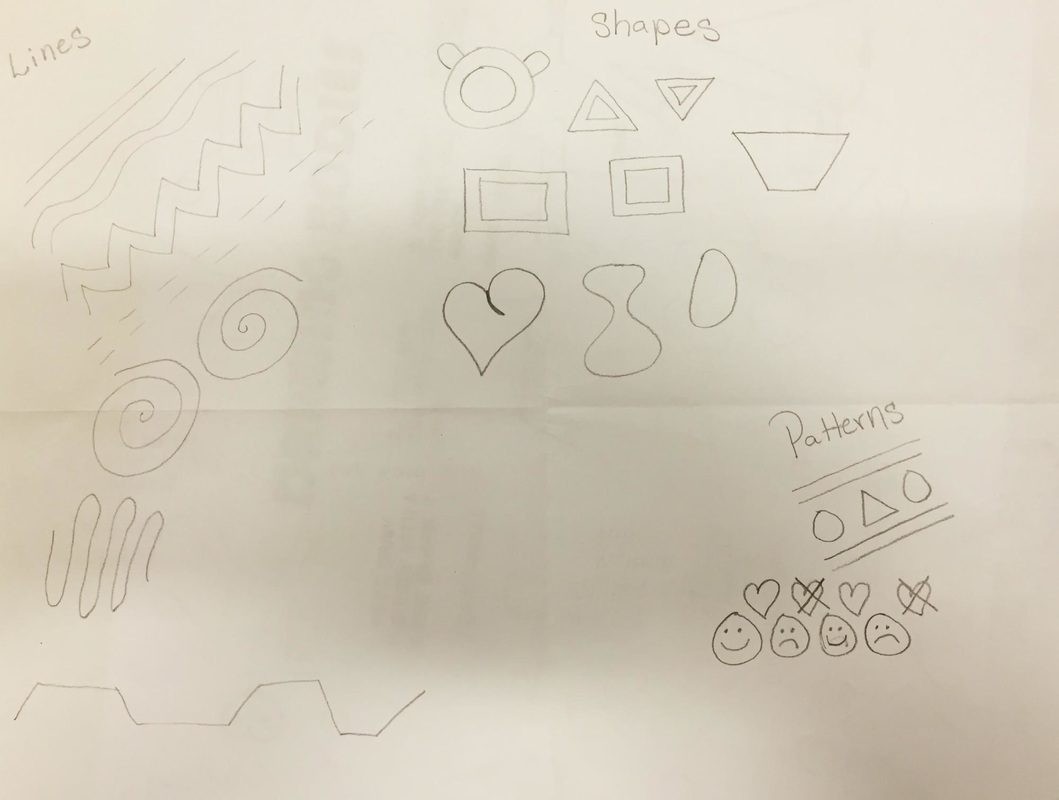 2. Show the students how to draw a caricature from lines, shapes, and patterns and have them draw your example, and have them rough draft sketch out a caricature of their Death of a Salesman chosen character. 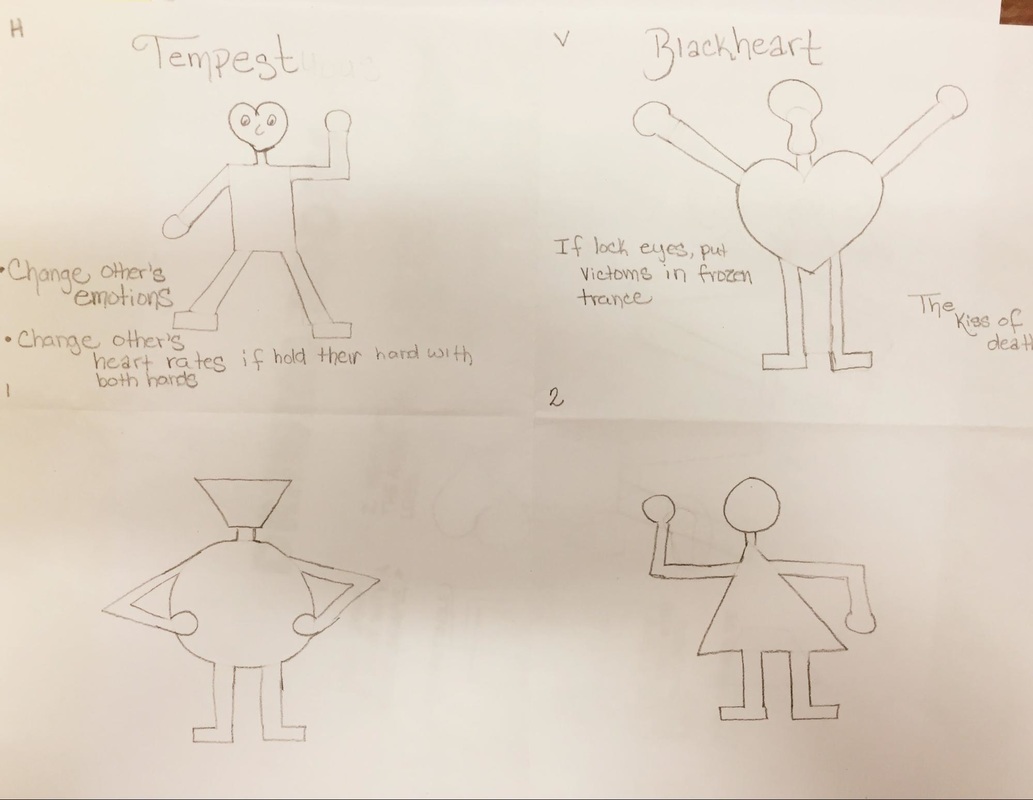 3. Show the students how to turn their sketch into a real caricature of their chosen character. 4. I showed the students how to do Richard Jenkins’ inking technique (using sharpie to outline your pencil drawing) and then coloring technique (how to use colored pencils to get different shades and different textures) and shared with the students Richard Jenkins’ helpful handouts on hair and faces.
|
ArtStoriesA collection of JSD teachers' arts integration classroom experiences Categories
All
|
 RSS Feed
|
|
Artful Teaching is a collaborative project of the Juneau School District, University of Alaska Southeast, and the Juneau Arts and Humanities Council.
|